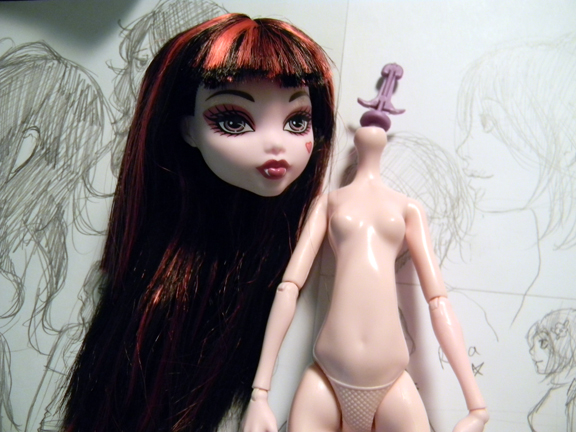
After my dollyhair order came in I wanted to get started on my custom Draculaura right away while I am still feeling all excited about the new hair. The first thing you have to do naturally is remove the head. Most tutorials I saw suggested running the head/neck area under water until the head became soft enough that it would allow the anchoring apparatus to be pulled out of it. Personally if I can avoid using water I will, and I found out that it’s quite easy to just take a blow dryer, blow dry the head/neck joint area for 30 seconds or so until hot, and then just pull and yank the head off while it’s still hot from the dryer heat. It took me all of a minute and I didn’t have to get anything wet or wait for hair to dry or anything.
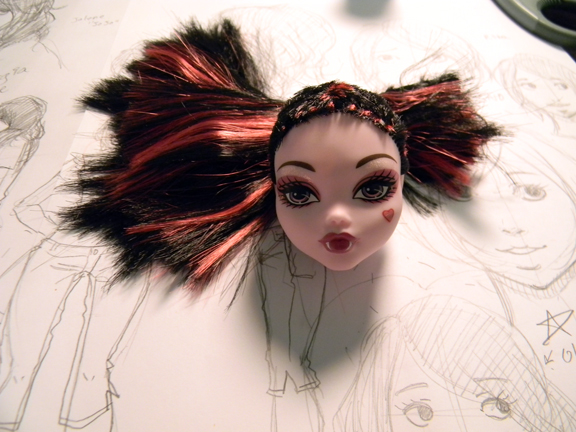
Next step was to cut off all of her hair, lol. Anyway for whatever reason I felt like saving the cut hair, it’s too short to root with, but I imagine it could still be useful for MLP tails or maybe it could even be wefted and used for a Brownie wig, who knows.
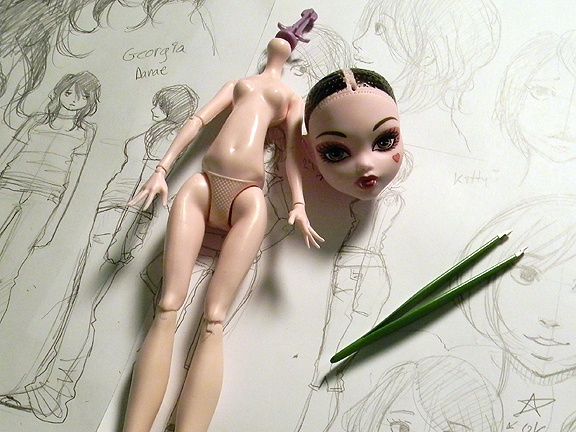
After cutting the hair, you then need to take your tweezers and start pulling out what’s left of the hair from the inside of the head. Often times there is glue inside rooted doll heads, and there definitely is in MLP toys, but I was pleasantly surprised to find that there was NO GLUE inside my Draculaura head. You may be wondering then what was holding it all together, and I shall tell you what I suspect. I suspect they use heat to melt the hairs inside the head, but I can’t be positive. At first I thought it was loop rooted, but then I started noticing these tiny bits of melted plastic bits here and there falling out. Either way because there appears to be no glue, once you start breaking apart and pulling out plugs of hair, you can also pull hair from the outside of the head as well, which is helpful because Monster High dolls have small neck holes. Also one more tip is to squish your scalp close to your neck hole so you can easier see the hair and nab it with the tweezers.
After removing all of the hair, it’s time to wipe the face paint off. Customizers will argue up and down on what to use to do this and what not to use and they are often contradictory. Some people swear by Windsor and Newton brush cleaner, while others will tell you acetone, in the end it’s your call what to use. I myself for this particular doll used acetone. Acetone will without a shadow of a doubt remove all the paint from the head no problem, BUT it will take a while because the paint WILL SMEAR so expect to spend a good 15 minutes scrubbing the head. Don’t panic though once you see a smear, because it will come off with a fresh cotton ball and more acetone. Because the paint smears, you will also have to spend time removing the scalp color because there is no way you can remove the face well enough without accidentally hitting the scalp color and smudging it all over the place. My last piece of advice when dealing with acetone is be sure to rinse your doll’s head thoroughly in water afterwards!! Acetone is a solvent used to remove resins aka plastics, so it can destroy your doll if you do not fully rinse and wash all residue off afterwards. It should also go without saying that you should never leave a doll to soak in the stuff, like EVER.
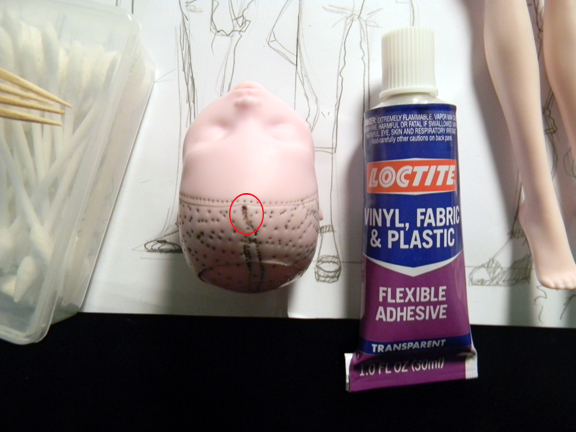
Anyhow, moving along, in the above pic you may notice I have a spot circled on the dolls head and I have out a tube of glue. You see, when they rooted Draculaura’s hair in the factory they put some plugs so close together in her front part that it kinda made a big hole. 🙁 After some research I found that the best thing to do would be to fill the hole with a flexible glue. To be honest there really isn’t that much information that I was able to find out there for patching doll heads. The one site I did find with the most info suggested gel super glue, however just because a super glue says it’s gel doesn’t mean it will dry flexible. I figure that it is necessary for the glue to dry flexible otherwise the glue will just pop out during the reroot process. I have decided to try Loctite’s vinyl and plastic glue that dries flexible. Doll heads are vinyl afterall, so the theory is this should work. Anyway taking a toothpick dipped in glue, I carefully put a few drops in the problematic hole (the area circled). This particular glue dries in 30 minutes, but requires 24 hours to cure, so I plan to leave the doll alone now until sometime tomorrow. I’ll just have to wait and see how well it fares against the reroot tool!
EDIT! – I am happy to report that the Loctite vinyl and plastic glue works fabulously! 😀


