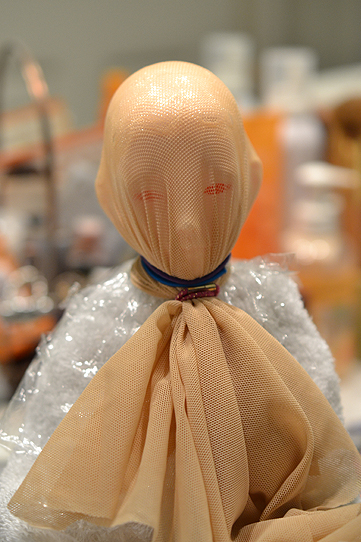
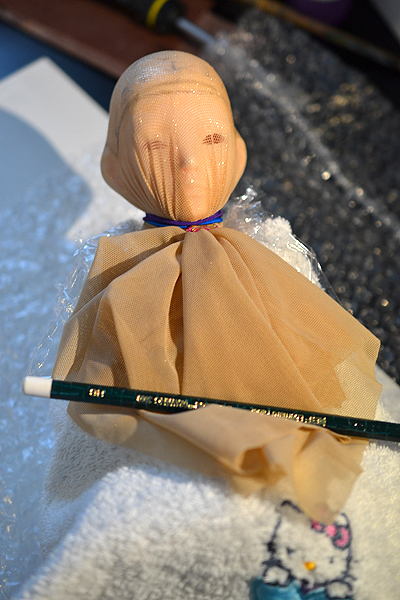
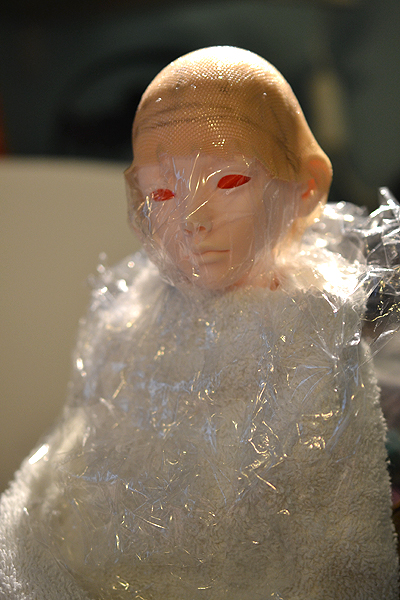
So I continued with my tests in the first part of this post and I went ahead and made a full wig cap using Loctite’s vinyl/fabric adhesive and the power mesh material. Following the directions in the wig making tutorial on DoA, I wrapped my Zaoll’s head in saran, covered her body in an old washcloth and then used old hair bands to stretch the power mesh fabric over her head.
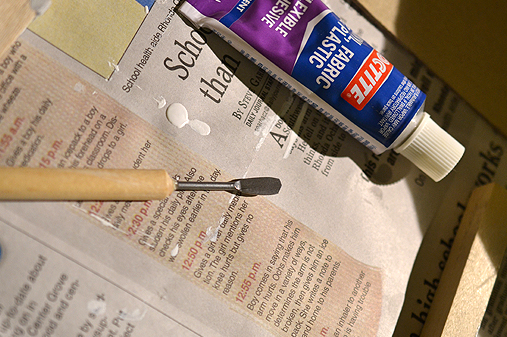
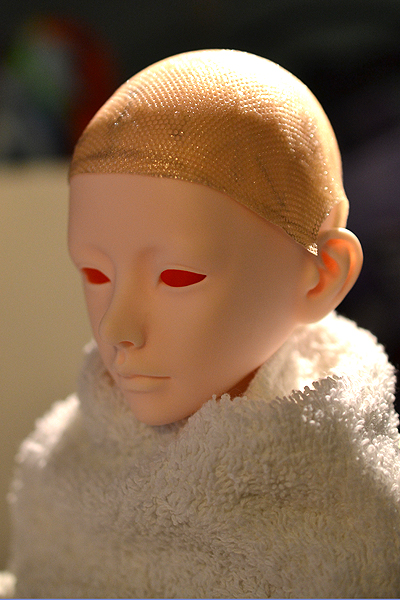
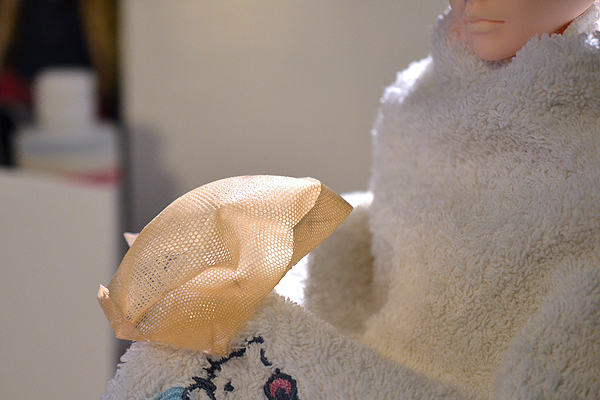
Here she is after having the fabric stretched over her and one application of the glue. I should also mention that is it going to be helpful to have a tool to spread this glue because it is very messy and is not pleasant to get on your fingers. I used this small metal spatula shaped clay tool which you can see below.
The glue is easily washed off the metal tool after you are done applying the glue, and if you happen to accidentally leave some glue on it you can easily scrape it off since this glue does not bond to metal well. After you apply the first layer of glue you need to let it dry for about 2 hours, then I recommend you add a second coat for durability.
Here’s my girl now with her glue all dried and I started drawing out the hairline where I plan to cut the cap. It was recommended in the tutorial that you also mark which direction you want your hair to go, this is helpful if you are gluing small batches of hair at a go and have a complex hairstyle. For me I have pretty much decided to use a synthetic fiber that I plan to weft, so I only marked the top center and a few directional lines. Also my hairstyle plan is not very complex. You should do what you feel will be best for you.
Here I did a rough trim, just taking off the excess fabric I had. In the next step I plan to cut along the lines I drew for the hairline.
Here I have the cap mostly trimmed to where I want it to be. I may need to take off a little more, but it’s always best to cut off too little rather than too much since too much and you have to start over again.
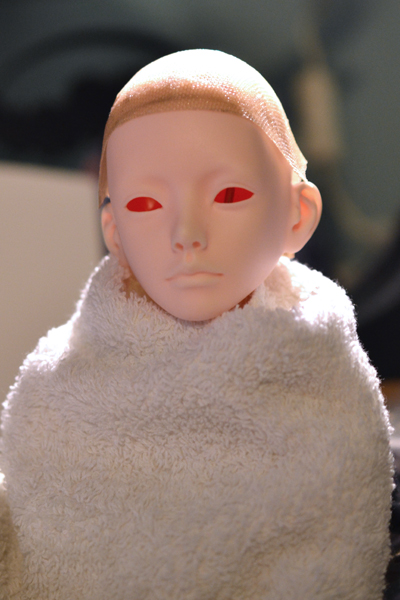
Here’s the front of the wig cap…one thing that I feel is a problem is that it sticks up a bit around the ears since the fabric naturally tented around the ears when stretched. I don’t know if there is a way to prevent this from happening, but I think I am going to try making another wig cap tonight and I will do some more experiments. Overall though I think it’s a pretty stable wig cap to apply hair to. Here are some of the pros to using this type of glue….
The first pro is that it’s flexible, you can flip the wig cap inside out if you want to. It doesn’t have much stretch though, especially with 2 layers of glue.
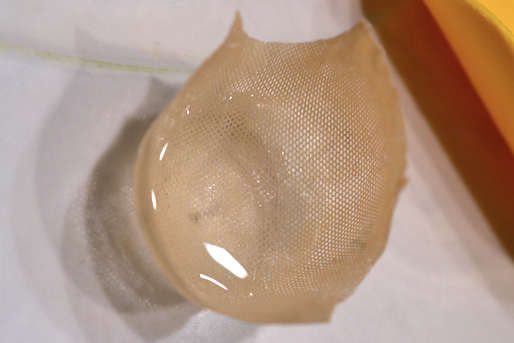
The second pro is that it’s watertight. It may be hard to see in the pic above, but I poured water from the tap inside the wig cap here. Because the glue is water resistant this means you can use synthetic fibers like saran and nylon and be able to use all of the wet styling methods for these fibers. Though I imagine this opens up wet styling methods to natural fibers like mohair as well. Also because this wig cap can get wet you can also maintain it like you would a normal wig, like giving it a wash or using conditioning treatments on it.
One last pro for using this glue is that because it’s rubbery, there is more friction when it’s on your doll’s head so it is less likely to slide off or around on you. Actually this fact makes me want to try a silicon glue next because maybe you can make wig caps straight out of that and have all the benefits of a silicon wig cap inside your actual wig.
The things that are not good about using this method is that it stinks. You’ll want to apply the glue in your bathroom with the bathroom fan running. Let me be clear and say it’s not particularly toxic like spraying with sealers as there are no particles than can find their way into your lungs, but if you have sensitive sinuses the odor could give you a headache. When the glue is dry however it doesn’t smell anymore, it’s only when it’s still wet does it smell.
The other con would be the dry time. It takes 2 hours to dry, though I applied my second coat of glue a bit sooner than that since it was dry to the touch before then. The last con would be the price. Each tube runs around $3, which compared to inexpensive PVA glues at $1 a bottle and more glue per bottle, well I think you can see the difference. This being said though $3 for a polyurethane based glue is not a bad price, and you do have all the benefits of a polyurethane glue.
Well, I will have more info for you as I continue my experiments. Right now the Loctite glue is working well for me, but I haven’t actually applied any hair or tried to make wefts yet, so I don’t want to pass judgement on this glue just yet. 😉 Anyway more to come!

