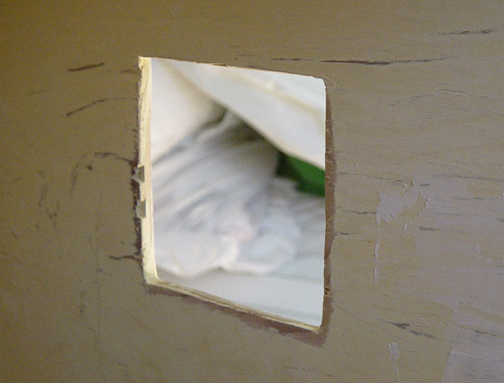
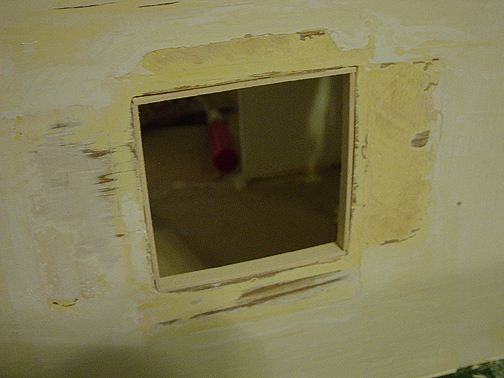
The above pic is what one of the window cuts looked like before I reframed it. I think the before and after shots I will show you will convince you to properly frame out your custom windows and doors! Anyway as you can see, the cut is not straight, and there are a couple chips out of the wood on the side.
And here is an exterior shot of the same window all nicely framed out. It is now a beautiful, clean square! Hehe….anyhow I spent today reframing all of the windows like this and then I started spackling and sanding the outside of the house to prep it for paint. I want to make sure everything is as baby bottom smooth as possible so painting will be a breeze, and also so it looks good. I am hoping that I will be able to finish all of the exterior spackling and sanding tommorrow so I can begin laying down a coat of fresh new beige paint. Then I will be able to focus more on the inside and start papering/painting the interior rooms and eventually add some nice interior window trim.
Oh, and I almost forgot, I have a more in depth sorta tutorial on framing out your windows from when I made the 1:6 scale house. You can find it in the dollhouses category. 😉


