Face-up Removal – Winsor Newton Brush Cleaner vs. Acetone

brushcleanerpic

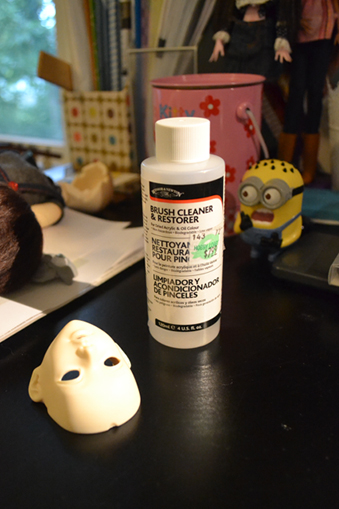
I finally got around to trying the Winsor Newton Brush Cleaner everyone seems to rave about on the forums and I thought I would share my experiences with using it for the first time. To begin with I have to say I am very skeptical of any sort of “miracle product”, which is how this stuff is made out to be, but I did find myself quite pleasantly surprised!

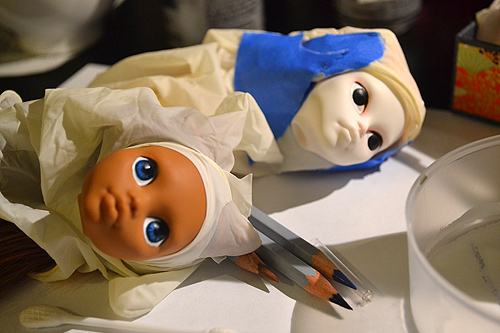
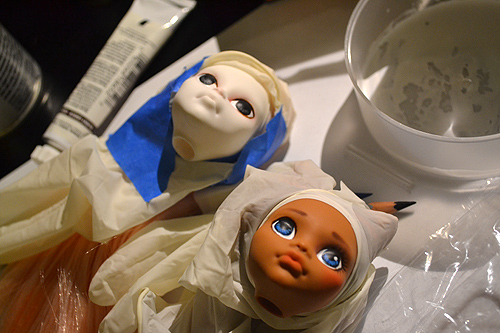
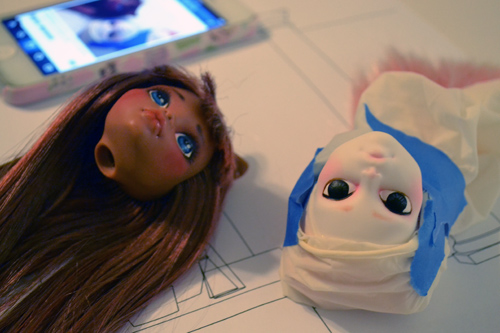
I used the brush cleaner to remove my Luli’s old face-up the other weekend when my Zaoll arrived, and I really was amazed because after rubbing the face-up with a cotton ball soaked in the stuff, the face-up started wiping away quite easily. You do have to apply a little bit of elbow grease however in comparison to using acetone, so it may take a few minutes more to wipe the entire face. The benefits to using the Winsor and Newton Brush Cleaner is that is doesn’t contain harsh chemicals that can potentially eat the resin. I’ve also read where people will let their doll heads soak in a solution of the stuff without incident, but eh…I’m not willing to try that yet. The drawback would be that it is going to take you longer, but I think if that’s the payoff for having a safer less harsh chemical, so be it.

I do want to say a word about being able to get into the tiny crevices of your doll with the cleaners though, because they differ here too. If you are trying to get dark corners out of mouths with the brush cleaner alone, it is going to be hard. For the most part on my Lusis I am regaled to using an old detail paintbrush to try to rub the cleaner in her mouth corners. You really have to apply pressure to remove heavier paints, and of course it’s difficult to apply pressure with a tiny paintbrush. In the end I gave up and gave the hard to reach crevices a wipe with the acetone since acetone can easily break down paints without any scrubbing.

In the end I think the Winsor and Newton Brush Cleaner is a great tool to have in your arsenal, but I wouldn’t ditch your acetone either. I find that Acetone can be helpful in removing tough spots left behind by the brush cleaner. You may be thinking then, well why buy the brush cleaner, why not just use acetone and be done with it? Well I shall tell you why….Each time you use acetone it does eat away at the surface of the resin, albeit in small unnoticeable minute amounts. However over time that wear can add up, so the more you can get away with cleaning a head without it, the better for the resin. If you only use acetone for small touch-ups, then that means less damage to the resin.

I realize everyone kind of has their own opinions when it comes to face-up removals, but I think I will continue to use the brush cleaner, and still hang onto my acetone for the tough business. I definitely will be glad to get away with using less acetone and I know my fingers will be glad for it too!

Monster High Customs Progress part 3

custom21

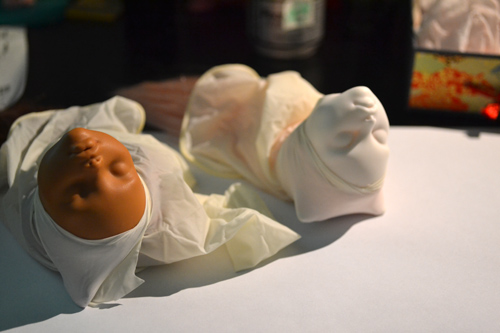
So, now we move on to the face painting portion of my customizing process. In order to keep the hair safe from the matte sealer you have to wrap it up in something. I noticed some people use old latex gloves for this, so I thought I’d give it a try. I ended up cutting out the tip of the thumb in a glove and shoving the head down from the hand portion of the glove until the face was properly exposed through the hole in the thumb. One of the drawbacks to painting the face last is naturally you wind up messing up all of your hair styling. It won’t ruin it completely obviously, but you will probably need to do some additional steam ironing after you remove the head from the glove. Some people paint the face before re-rooting, but for me personally I have found that if I do that I normally wind up damaging the face in the process since re-rooting is a little rough on the doll’s head. In the end you should do what works for you. Oh, and I should also mention that before I do this I commit myself and glue in the hair inside the head. You basically want to use a non-water soluble glue like a fabric glue.

custom22

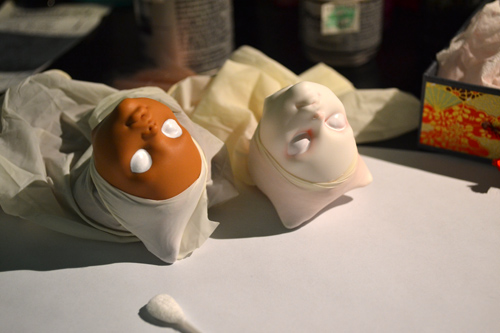
So, I started by painting in the shape of the eye whites as a canvas. I had seen other people start with white before and thought I would give it a try. I think I prefer starting with laying out the eye in watercolor pencil first because I just find it easier to work with dry materials. When you start painting the face it’s really important that you thin out your paint well enough. It takes some practice to get it right, but here is a tip to help you: If you see any streaking, or rather you can see brush strokes in your paint, then it is too thick. Your paint should be so thin that when you apply it you see no strokes and the liquid like paint self levels itself. You will also have to apply many layers this way slowly, as you should wait for each layer of paint to dry. In the picture above I have probably applied over a dozen coats of white paint to make it opaque. Also I should mention that on Catrine I decided to blue the corners of her eyes before beginning so this way I could see my paint since it would be white on white.

custom23

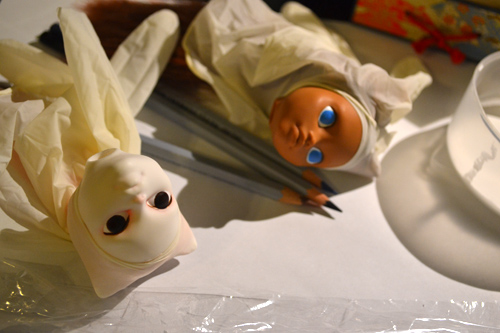
Next I start blocking in some base colors and I started adding a lid line around catrine’s eyes.

custom24

After getting the base color solid on Clawdeen’s eyes I started working on darkening the pupil area and around the edge of the iris. I like to go for a more manga sort of style I guess when I paint the eyes. It’s what I’m familiar with since I draw manga style comics.

custom25

So now that I have Clawdeen’s eyes about how I want them I started applying highlight dots and have moved on to doing some blushing and drawing in lashes and brows. This was the first time I had ever worked with a “tan” doll before, so I found it a bit of a learning curve to figure out which colors would look good and show up on her. Red shows up best for the blush and lip colors.

custom26

And here I have fully finished Clawdeen and started to focus more on Catrine. So, you can see about how messed up the hair becomes after you remove the head from the glove. I just adjusted Clawdeen’s hair with my hands for the picture. It’s not terrible, but you always feel a little sad that your perfect hair is not longer perfect. XP

customdone27

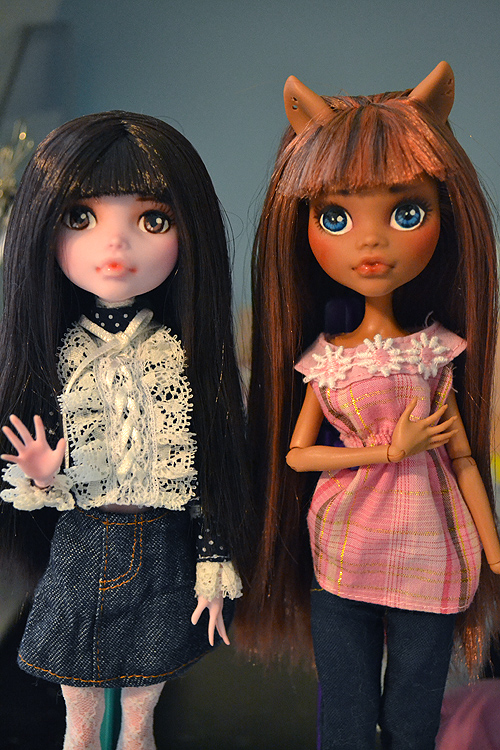
So here is my finished Clawdeen with my very first Draculaura custom. I have yet to finish Catrine because we had storms and high humidity the following day so I have been unable to spray any sealer. I will be trying to get her finished up this weekend since the humidity has dropped greatly. So, in the end I learned a little more while doing this custom, but I’m not 100% happy with Clawdeen since I think I made her eyes a bit too big. I still like her overall though and I had wanted to make a sweet innocent looking Clawdeen and I think I was at least successful in that. Well, that’s it for my customs progress for now. I’ll be sure to post some pics of Catrine when I finally finish her. 🙂

Monster High Customs Progress part 2

Ok, here is part 2 of my customs progress. This section is going to mostly be about the cutting and styling of the hair, and then the face painting will be in the last and final installment. Well then, let’s just jump right in shall we? 😉

custom11

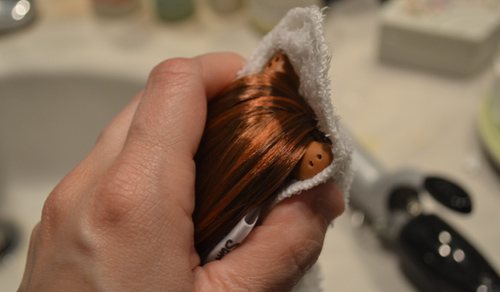
So, styling….One thing you will want to do is to tamp down your part thatch in place and aside from pouring boiling water over the head as I did with my first custom, you can also use a hot iron to set the hair in place. You will need a curling iron and a damp washcloth to put between the iron and your doll’s hair. Never use the iron directly on the hair as you could risk burning/melting it. In the above picture I have my damp washcloth in place and my curling iron is hot. I set my curling iron to around 24 or 25. When you press down the iron on the head you should hear a sizzle, if you don’t hear a sizzle, your washcloth is not damp enough and you should re-wet it. After pressing the iron on the section of hair you can lift up the cloth and see if it is to your liking. If it hasn’t been tamped down enough then just do the process over again. One more tip is to rub your iron back and forth as you do this so you are not applying direct heat to any one area for too long….basically treat it like you would when you iron your clothes.

custom12

Here my CLawdeen has had her bangs ironed and cut. For a blunt cut like this you basically want to pull the hair strait down and cut in a straight line. You definitely want to use barber shears for this!! DO NOT USE REGULAR SCISSORS, especially if your bangs are thick! Barber shears will allow you to cut the fiber much easier and cleaner, plus they are smaller sized scissors and work better with the scale of the doll. You can get really low end barber shears at Target or any other box store in the hair accessories aisle that has all of the hair bands, barettes, brushes and so on. I got a cheap pair for under $10. If you are doing a lot of customs you may consider springing for a more expensive pair of barber shears from the beauty supply, there the low end shears are around $30, but they do cut even better than Goody’s $10 pair.

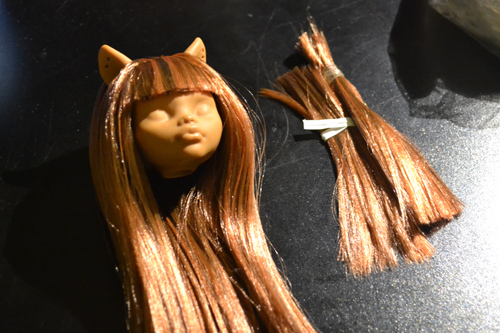
After I cut the bangs, sometimes I like to keep the leftover hair. This hair from the bangs is good fodder to practice using your barber shears on, but it probably too short to be useful for anything else. But, it’s nice to have practice material right? 😉

custom13

Ok, we are going to backtrack to Catrine’s re-root process a little bit here. I decided with Catrine that after doing so many rows of hair plugs that I was going to tamp it down with the iron periodically. Doing this kind of crimps the hair so it follows the shape of the head right after it comes out of the hole. The reason for doing this you might ask? Well it makes the hair appear to lay more naturally along the doll’s head and you don’t have to worry about having thick hair puff out syndrome. Personally I like this, so I intend to keep on doing it for the rest of my customs.

custom14

So, I’m styling Catrine’s hair a little different. I want a side part with longer bangs. I’ve already begun coaxing the hair into that position.

custom15

Now for the part thatching. Here is a close-up view that shows the thatching the best. Essentially you are going to have two rows of hair side by side for your part thatch, and these two rows should be close together you will take the hair from the right side of the hatch and move it left, then pull one from the left side, move it right, and repeat this process until you start to get a weave like the image above. If you want a more in depth tutorial on part thatching, there are already some great tutorials online who explain it brilliantly and you can check those out here:

custom16

And here is the completed side part, thatched and tamped with the steam iron technique.

custom18

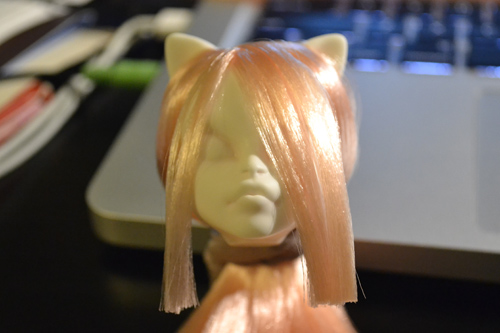
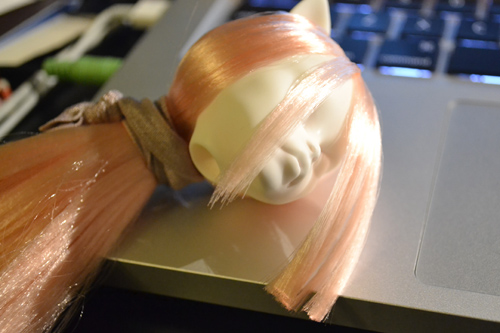
So, I want my Catrine to have longer bangs that have wispy ends. Here I have cut the bangs BELOW where I want them to be. I did this because I am going to use a technique to get the wispy edges that will wind up taking off more hair.

custom19

So phase one of the cutting, you can see my progress above. To get the wispy edge look what you have to do is hold your barber shears parallel to the hair (straight up and down) and just start making little snips to the ends. If you’ve never done this before take your practice hair, either the hair you clipped from the doll or a bangs cut like me and practice it. Just practice it until you feel like you have it. If your hair is still a bit too long after you have done this, just keep snipping the hair parallel until you have it about where you want it.

custom20

Here is my finished look. Now to get the hair to curl a bit outward, I just held it in place like that and steam ironed it just like you do when you tamp down your part thatch..

Well, this is the end of the cutting and styling segment. The last posting will be about doing the face-paint. I’m hoping to get it online sometime today, so watch for it!

Monster High Customs Progress Part 1

So I’m finally getting around to blogging about this, *sigh*, just too many things to do in a day. Anyway I’m splitting this posting into 3 separate posts since the whole rerooting and painting process is really long and it also might help compartmentalize things. I think a lot of my working process hasn’t changed much since the last time I did one of these, but hopefully you won’t find it too redundant and maybe even helpful, le gasp!

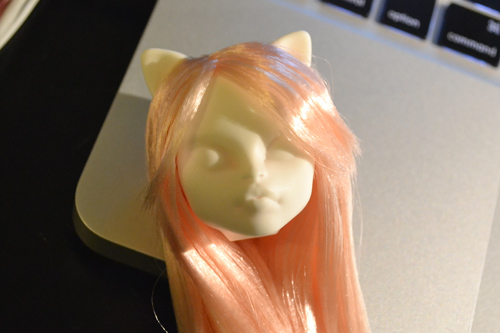
Ok, so I’m going to start off with the ripping everything apart phase, lol. First thing you need to do is pop off the head and trim all of the hair off as close to the scalp as you can with scissors.
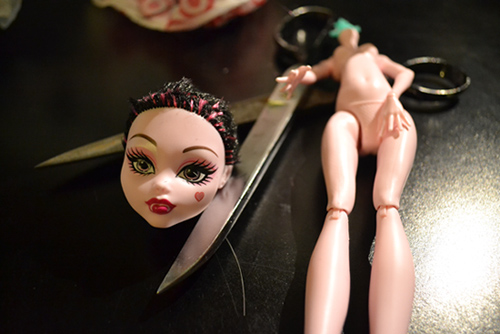
draculauracustom01

The next phase is the most horrible phase of customizing, and that is pulling out all the god awful glue and hair from the inside of the dolls head.
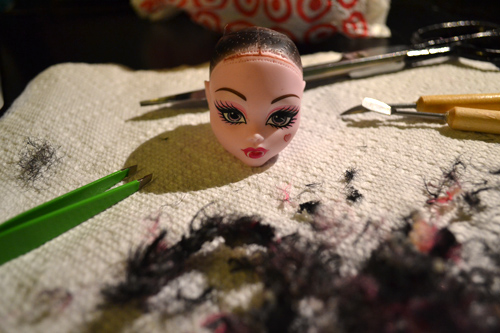
draculauracustom02

In the above picture I have just finished “de-gluing” the head. You can see all the nappy hair bits around and you can also see the tools I used. Good tweezers are a must of course, you’ll need them to pull out all the glue blobs and the hair, but this time around I also found one of my blunt end clay carving tools extremely helpful. You can see this tool to the right of Draculaura’s head, it looks like a little silver paddle on a wood handle. How I used this was I somewhat roughly scraped that tool around the inside of the head, but you don’t want to be so rough that you damaged the head. Essentially I would say be sure your are applying pressure. If you are doing it right all of the sudden large swaths of hair will just start disappearing from the head as you scrape. You can easily get all of the hair out of the holes in a minute or two using that tool. HOWEVER, you are still going to be left with all of the hair and glue clumps rumbling around inside the head, so you will still need to use your tweezers to pull them all out, and that is a long process.

Another thing to watch out for when removing the hair and glue clumps is that more often than not you will encounter glue blobs that are too big to be pulled out of the doll’s small neckhole. If you pull the glue blob as far out as you can, you can try snipping it with scissors to help break it up. I recommend getting yourself a cheap pair of nail scissors. They are tiny enough so you can fit them inside the neckhole slighting to snip away at glue blobs.

Finally your tools will get covered in that nasty, tacky, glue. You will need to wash them well after you are done using them, however most soap just doesn’t cut the mustard. I found that applying acetone with cosmetic pads to be very effective. Since acetone is a very strong solvent for paints and glues, it can clean the glue off with a little bit of elbow grease. You can find a big tin of acetone in the hardware store for under $10. Don’t bother with nail polish remover which is usually more expensive per ounce and often has other chemicals in it and is diluted. You must be cautious with pure acetone though! It will dry out your hands, and it will remove paint from surfaces it comes in contact with, so with that in mind it’s best you do this at a bathroom or kitchen sink.
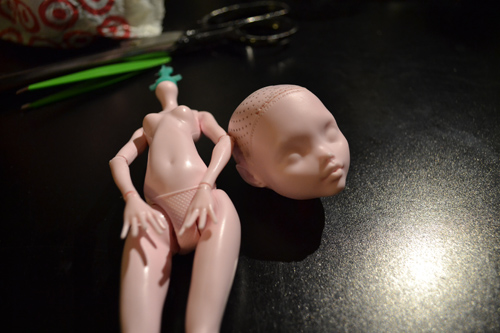
draculauracustom03

On the topic of acetone, that’s the solvent I use to remove the factory paint. Go slowly and use q-tips on the small areas because the paint will smear. Smearing isn’t the end of the world though, so if you do smear black eye paint down the cheek, don’t panic, just rub it off with a cosmetic wipe loaded with more acetone. In the end smearing just means there will be more work for you. Now, in the above image I have also wiped off Draculaura’s black skull paint because I plan to reroot her with mint hair and I don’t want a black base. If you are planning to reroot her in black or darker colors, you can feel free to leave the skull paint, in fact it is advised so you don’t have bright pink showing through any of your lovely black hair. 😉 Eventually I will be painting this draculaura’s skull in mint to match her hair.
custom04

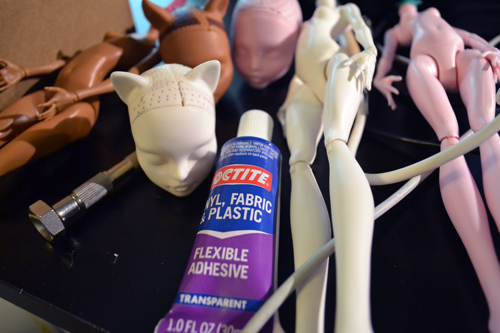
After you remove all the hair and paint, the next phase is to look for any gaps in the head and fill them with a flexible glue. Normally there will be some gaps around where the parts are since the needle holes are punched so close together. For an example, you can see there is a long gap in Catrine’s head from where her part came out XP. I’m going to advise you if you are working with Catrine to be very careful since the needle holes were so close that just the act of pulling out the hair turned it into one long channel. XP The glue I like to use to fix these gaps is Loctite’s silicon adhesive. It is clear and dries flexible, which is essential!! If your glue does not dry flexible, when you go to reroot, the glue will just pop right out. Depending on the size of the hole will determine how much glue you should use. For Catrine’s channel, I used too little glue at first and I had to go back and apply more. Also you will want to carefully apply it with just a toothpick so you can really shove the glue in the hole. If you are accident prone, you may also want to cover the face to assure you don’t drop the glue on the face. If you happen to get a wisp of glue somewhere on the face, you should immediately wash the glue off before it dries. Lastly, you need to leave this glue to fully cure for 24 hours, so plan on having that downtime and don’t try to work on the doll before that time simply because you think the glue feels dry, it really does need to fully cure to hold properly.
custom05

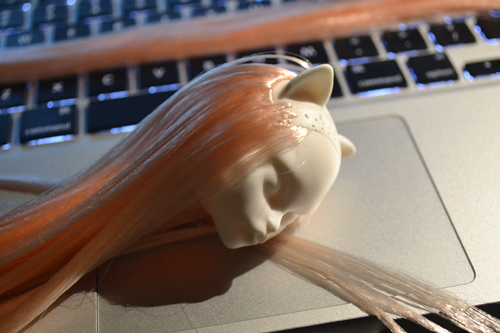
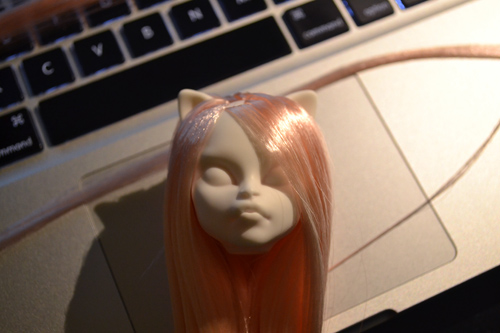
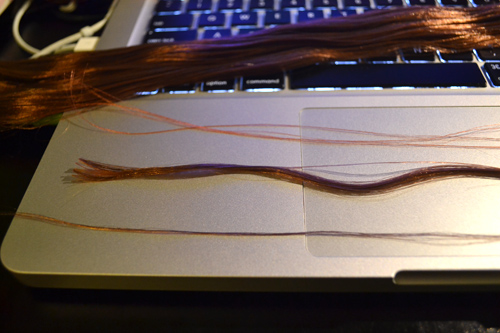
Ok so after your glue has fully cured, you are ready to apply the hair. Here I have a few strands of cut hair laid out on my laptop. You want to only use a small bit of hair per each plug. If you overfill your hair may become too unnaturally thick looking. The couple overlapping reddish strands near the back are about the right size. Keep in mind that when you use this hair with your reroot tool, you will be essentially folding it in half so the thickness will double. I think I explained how to use the reroot tool a little better in my last customs posting, but I will go ahead and write a little blurb here, just in case.

Basically your reroot tool is a handle with a needle on the end that has had it’s eye snipped at an angle. You then take this open ended eye and slip the section of hair at it’s center onto the needle. Hold the hair tight on there and then punch it into the dolls head. If you can’t visualize what I am talking about you can always check out some of the great re-rooting tutorial links I posted last year or so, which is here: http://www.genkigirl.com/dollyblog/?p=896
custom06

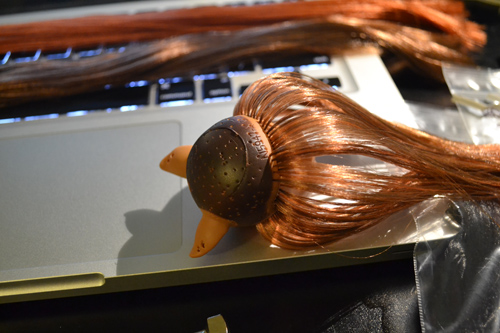
For me, when I reroot, I like to start at the back and work my way around. I normally do the bangs and any parts last.
custom08

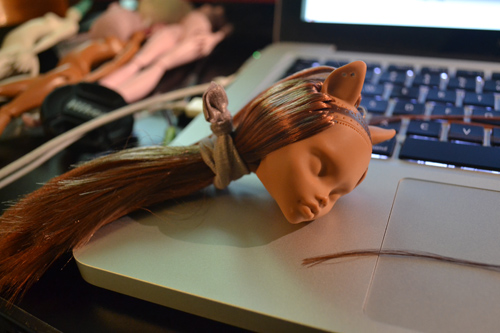
Anyhow basically this is a tedious process as you fill up all the holes with new hair. Sometimes I watch TV or listen to podcasts or something while I do this because it can become very boring. As you are filling up all the holes, be sure to check for any thin areas in the hair. If an area looks rooted too thinly to you it is ok to use a needle and poke a few more new root holes. Just don’t go crazy with it, or you could wind up with your doll’s hair looking unnaturally thick. Also if at any time you feel you may have re-rooted too thickly, you can always pull the plug out and sometimes if it’s not too messed up you can reuse that plug elsewhere.
custom09

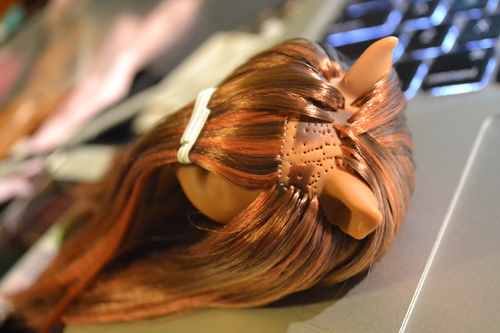
When I start laying in the bangs, I like to keep that hair separate from the rest. If you use the twist ties you get with your RestoreDoll order you can keep it nice and flat. If you don’t have twist ties you can use any no tangle hairband.
custom10

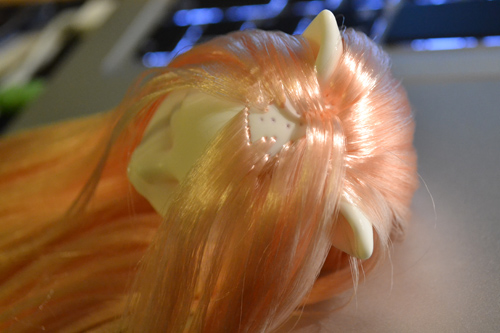
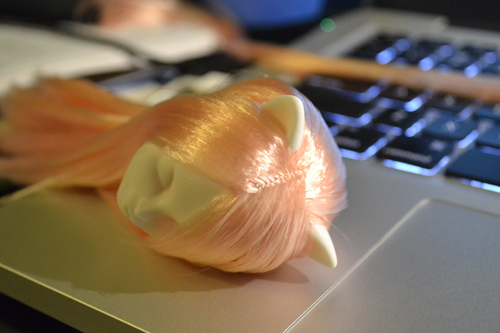
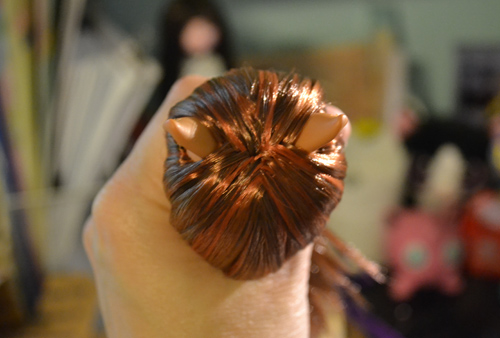
So here is the finished thatch on my Clawdeen. I found it easier to thatch a part that went between ear to ear for the bangs hairstyle. This isn’t the cleanest thatch I’ve done, but it was a learning process since this was the first time I had rerooted a doll with animal ears. I will go a little more in depth about thatching in part 2 of this posting, but you can also find most excellent thatching tutorials by following the link I posted earlier in this very post.

Well, see you in the next post which will be mostly about cutting and styling!

More Customs Fodder!

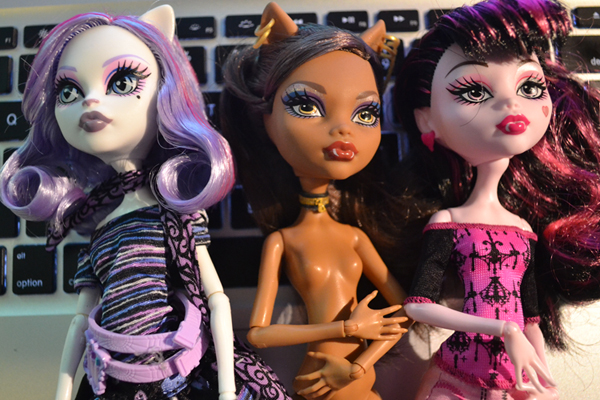
Over the last weekend when my cousin was in town I picked up a couple more Monster High dolls to do some repainting and rerooting on. Clawdeen hs been waiting to be customized for a while, but Draculaura and Catrine are the new dolls. I was actually so excited to see Catrine. I feel like I never see the “special” dolls that much. For example it’s rare for me to find Nefertari. It may be because I live in a large suburb of a city so product moves fast. Anyhow, speaking of fast I intend to try to start customizing this weekend as….wait for it….my doll hair order arrived!! I’ll talk more about that later, but for now, the girls.

customfodder600

You know, I’ve never been really fond of any of the outfits of the Monster High girls, but Catrine’s outfit is not bad, and her little art belt with pastels and brushes is novel. I know a lot of people really like the crazy shoes on these dolls, but I guess I’m a little too much of a plain jane to really get into them. One day I’m going to have to try my hand at making some custom shoes, because right now all of my MH dolls are shoeless, lol

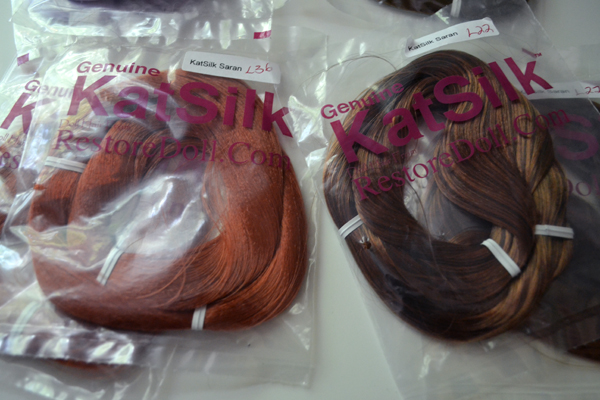
So, on to the important part, the saran doll hair order. This time I decided I was going to try RestoreDoll as I’ve always heard good things about them and they had a couple special colors that I really wanted. So, let’s take a look at the first set of colors shall we. 😉

katsilk-cognacplus

I took these shots in just natural light from the window and I did minimal color balancing on them to try to get them to look as close to what they look like in real life. If there are any differences, I will be sure to tell you about them. So in this first set there is Cognac #36 on the left and Bronze #22 on the right which I think is one of RestoreDoll’s own custom blends if I am not mistaken. Both are very very close to what they look like in real life. I had seen some pictures of cognac on flickr that looked more red, and to be honest it’s what I was expecting, so I was a little surprised it was more on the orange side. Still though it is a lovely color and it will get used eventually!

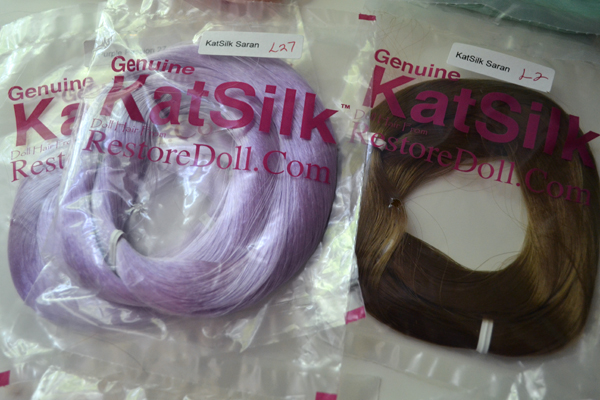
katsilk-purplepassionbrownette

These two colors are Purple Passion #27 and Brownette #2. Both colors are also very close to what they look like in real life. I was really extra happy with Brownette actually, because it looks darker than I had seen on flickr, but it does have a golden sheen about it, which I think is what is caught when people use flash photography or take photos in the sun. Anyway overall it’s a nice solid medium brown and no red tones.

katsilk-cupcakepinkturqoise

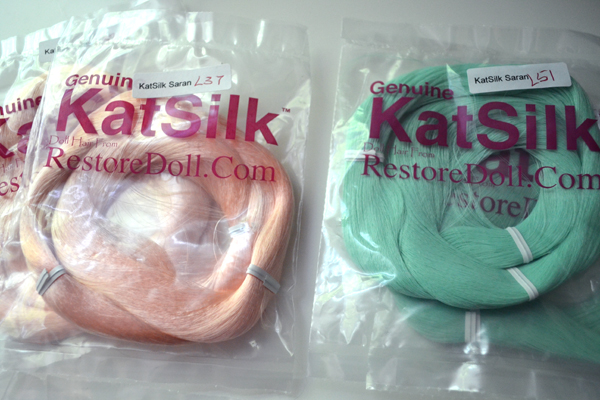
Ok, so lastly we have Cupcake Pink #37 and Turquoise #51. These colors are close to real life, but I consider the cupcake pink to be a little more on the pink side, though it is a warm pink, so it does have a bit of a peachy cast. The Turquoise was the hardest to try to get right in the photo. XP As it is Turquoise is a bit lighter than this photograph and has a very minty look. Either way they are both really pretty colors. Heh, to be honest I wouldn’t mind owning ALL THE COLORS!! XD lol

So I feel I need to say a few bits on quality and service since this was my first order with RestoreDoll, and I have to say they pass with flying colors. 🙂 I am really happy with my order and they ship SUPER FAST! Which is kind of a change from dollyhair, since they are kinda slow. ^^;; Quality wise I’m perfectly happy with everything, I only wish I maybe had ordered a little more, lol. Lastly I wanted to mention size and quantity, because dollyhair always knocks RestoreDoll on their website and I find it unfair, so I want to clear up a few things. The RD dollyhair hanks they sell ARE NOT equal to the real RD small skeins. 2 RD small skeins look comparable to what you’d get if you ordered one of the 38in dollyhair hanks. Moral of the story, don’t believe what competitors say about each other, because they are in competition for your business, you are better off to trust disinterested 3rd party information.

Well that’s it for now, I’ll be sure to share my customizing progress in the future. I’m really hoping to be able to get a start on it this weekend! So excited! X3