Unoa and MSD Denim Jumper Project

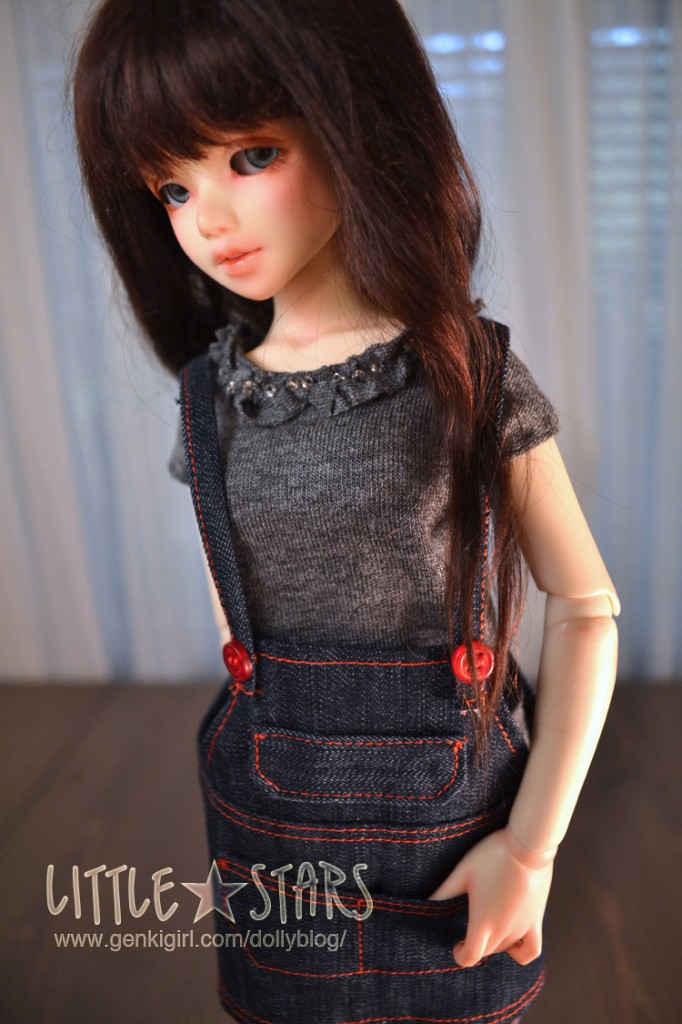
I saw a really cute denim jumper dress online for people that hung below the bust and I wanted to try to see if I could create something similar for Unoa and my other MSD sized girls. Below is the fruits of my labor! 🙂

jumperpreview02

It took me a few tries on muslin to get the pattern cut correct and in this picture is my finished prototype in denim. I really like the red topstitching over the dark denim. I am also hoping that it’s baggy/roomy enough without being too roomy. The original people sized jumper dress was pretty roomy looking! Also the original human sized jumper had a distressed look. I may start researching how to distress denim so I can have more variety in my denim outfits.

I should also mention that the gray t-shirt is also another prototype. It’s a simple pattern that I added a collar ruffle to and I sewed a few seed beads on for sparkle. I might like to try to find more silvery looking beads though, perhaps there will be some sales tomorrow! Eventually I plan to make a denim jumper set to sell on etsy, so if you like this outfit, you may keep an eye out for it. 😉

Added Unoa and MSD clothing to my etsy!

Oh man, so I haven’t been able to find the time to blog as much about all the sewing I’ve been doing lately, so surprise! I have 3 different outfit sets and a couple separates listed on etsy that you can buy. The majority of the clothing is for Unoa, but some of the items will also fit your regular MSD sized girls as well. I’m pretty excited about some of these, so let me get on with a couple preview pictures.

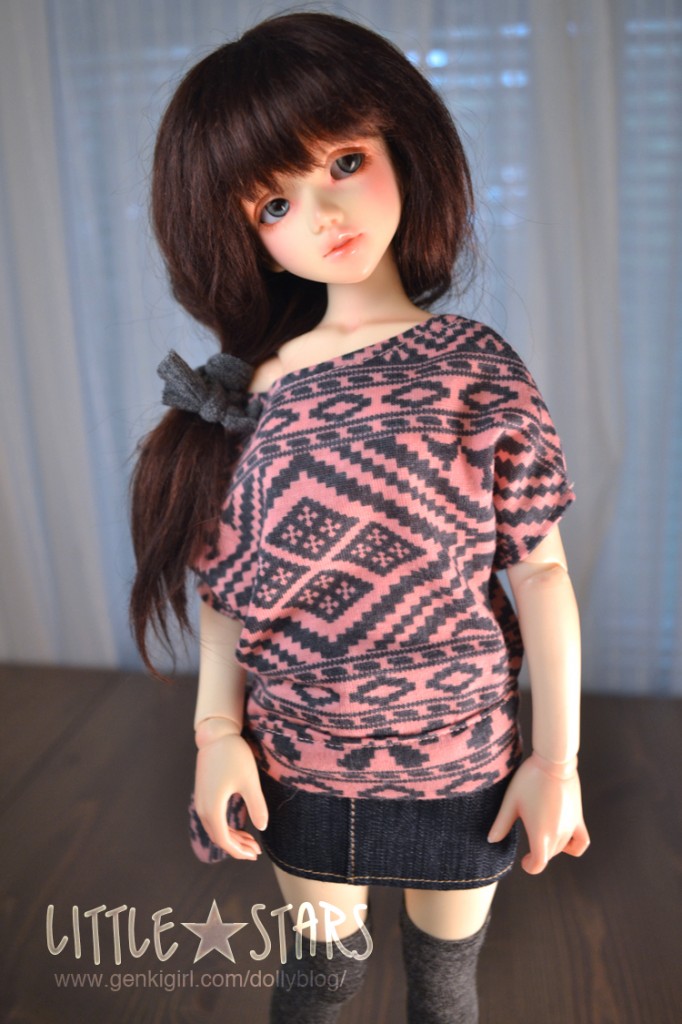
casualweekender03

I think this set is my favorite. I really love how the poncho top looks on my Lulu. X3 She has her own set of course, but not in the same fabric. I will probably try to make a poncho top to sell separately in the future since I think they look great on the dolls and have a nice modern, casual vibe.

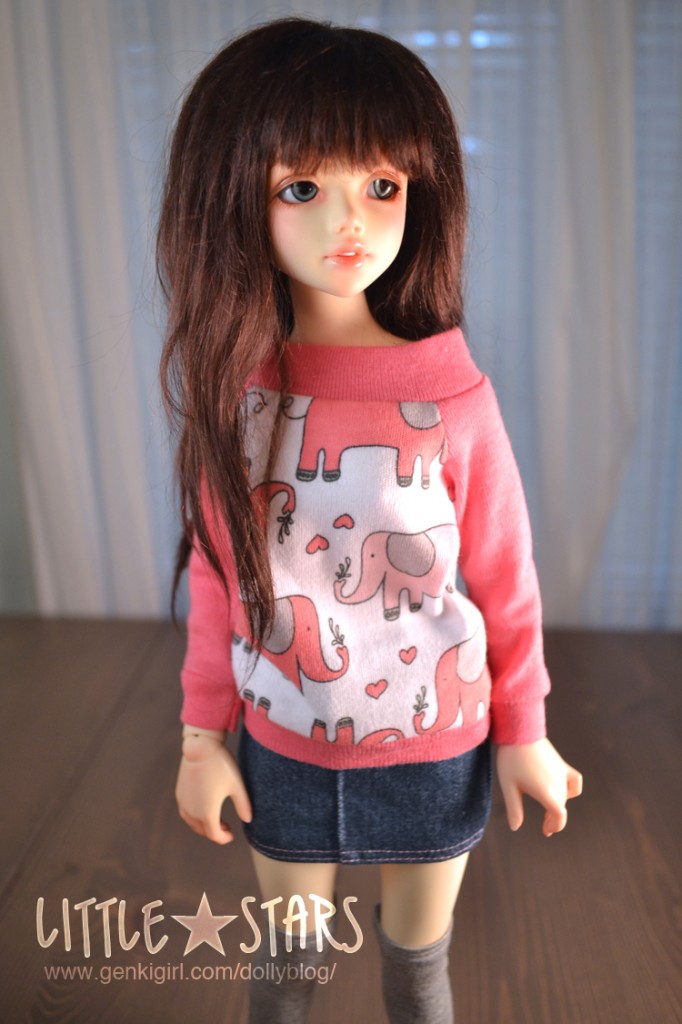
cutiecasual01

And here we have the beginning of the pink elephant raglans. I’m hoping to be able to have some more fun with that really cute fabric soon. So many ideas! I’m also going to try to blog more progress stuff in the future as well

Anyway you can check out my etsy shop here: https://www.etsy.com/shop/tsukiyono

Thank you for humoring me!

Experiment Light Diffuser.

I’ve seen a lot of neat little tutorials where people with smaller 1/6th scale dolls have made little light box diffusers to photograph their dolls in with a nice soft looking studio light. The only problem is that if you have anything larger than a YOSD or a Blythe you may find it difficult to create a light box big enough. On top of that if you wanted to photograph a room box with your dolls that also presents a problem. So I thought to myself, why can’t I just make some diffusers to use when I make a set for my MSD girls? And then I decided I would try it. 😉
diffuserbox01

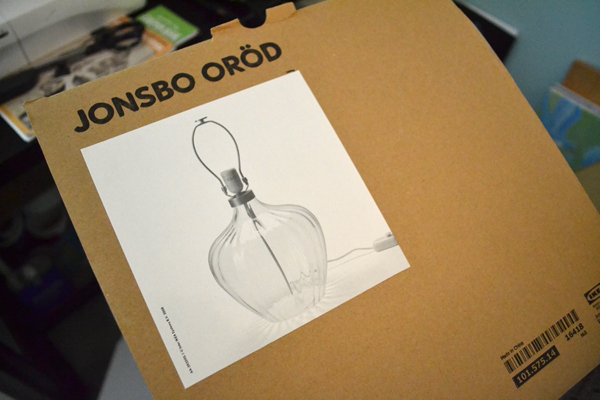
So I started with a box, in this case it was a lamp box my mother saved for me after she bought this lamp at Ikea. I feel like I’m advertising for them now or something, lol. Anyway….
diffuserbox02
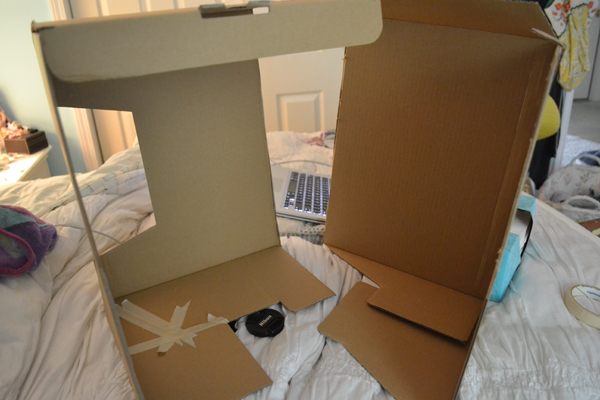
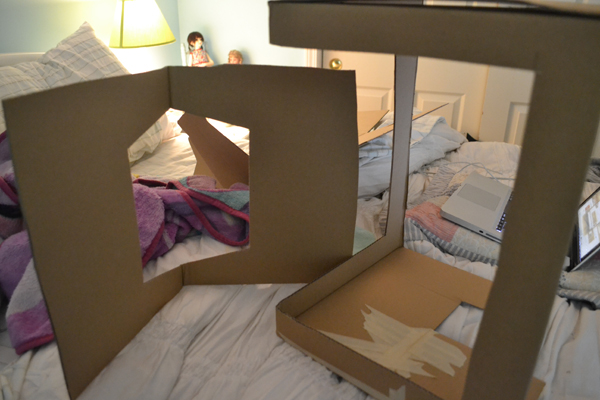
I slit the box down two corners, and this would be two corners diagonal from each other so in the end you wind up with two triangles of box and some bits of attached lids and bases.
diffuserbox03

After securing the box with some tape on the base so it will keep it’s triangle shape and won’t move on me, I decided the orignal lamp box opening wasn’t big enough and I decided to cut out a large rectangle of cardboard being sure to leave a good 2-3 inches around the outside.

Unfortunately I forgot to take a picture of the next step, but after you cut your window holes in the boxes you will want to tape a thin paper or tissue to the inside of the box, covering the window hole. The paper/tissue is going to be the part that acts as your diffuser, the rest is there for support.
diffuser04

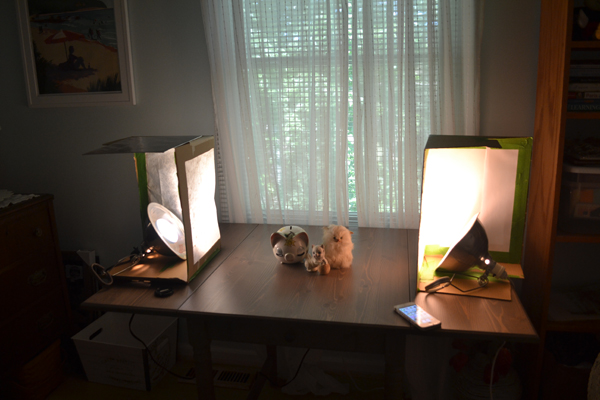
So here are my diffusers in action. You can see how I taped the paper to the windows, and basically I set clamp lamps inside. If you want to angle your lamps in a specific direction, you can put a heavy object like an art history book on the base for support and clamp your lamp to the side or top of the box. I imagine with a little work you could probably even figure out how to hang the box around a lamp that is higher up in the air, but I didn’t try anything like that.
diffuser06

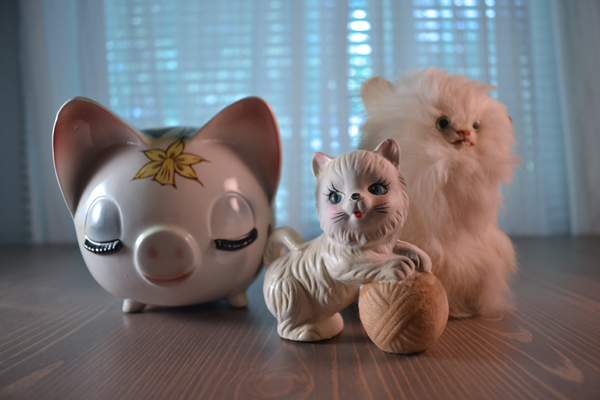
Annnnnd here is a test shot I took using the diffusers. In the end I applied a cooling filter to the image because these shots wanted to come out orange which kind of told me they were a bit under exposed, however I was using a low watt incandescent so there’s that too. Since I only have the kit lens on my camera I’m going to have to either add more lighting or get a new lens with a larger aperture setting. As it is, these were all shot at 1/60th at f3.5 which is the most my len’s aperture can open.

Anyway you can judge for yourself if you’d find something like this useful for your doll photography. For me the verdict is still out on these boxes. I am going to try working with them again when I plan to photograph my sewing projects and then make my decision. I might also use a more powerful light with more of a cool cast as well. If I come up with anything new I’ll be sure to blog about it!

Incoming Doll(s)!

A while back I ordered a blank Mio head through a Dollmore group order on DoA, and she has finally arrived in the states so hopefully I will have her before too long! I had been wanting a Mio for a long time, but I have also been reluctant to purchase any dolls above MSD size because I feel MSD size is perfect for me. However when I discovered Zaoll and her smaller stature, only coming in at around 54cm I thought maybe that middling size between MSD and SD would be ok. This being said, I took advantage of Dollmore’s summer sale and I now have a blank Zaoll on her way to me!

I feel a little guilty that I’m going to hybridize her and put Mio’s head on her body though, but I figure if I like this size well enough I could just watch the DoA marketplace for another Zaoll body and have two girls. 🙂 After this I intend to stick to MSD from here on out I think. My next dolly goal will be to acquire a Unoa boy, probably a B-El.

Monster High Customs Progress part 3

custom21

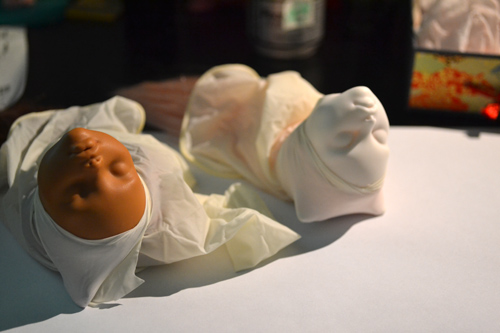
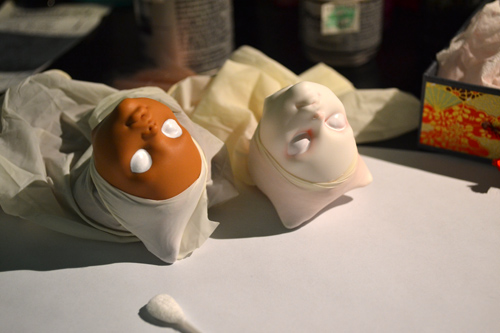
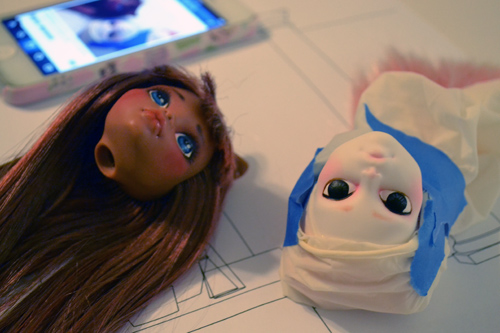
So, now we move on to the face painting portion of my customizing process. In order to keep the hair safe from the matte sealer you have to wrap it up in something. I noticed some people use old latex gloves for this, so I thought I’d give it a try. I ended up cutting out the tip of the thumb in a glove and shoving the head down from the hand portion of the glove until the face was properly exposed through the hole in the thumb. One of the drawbacks to painting the face last is naturally you wind up messing up all of your hair styling. It won’t ruin it completely obviously, but you will probably need to do some additional steam ironing after you remove the head from the glove. Some people paint the face before re-rooting, but for me personally I have found that if I do that I normally wind up damaging the face in the process since re-rooting is a little rough on the doll’s head. In the end you should do what works for you. Oh, and I should also mention that before I do this I commit myself and glue in the hair inside the head. You basically want to use a non-water soluble glue like a fabric glue.

custom22

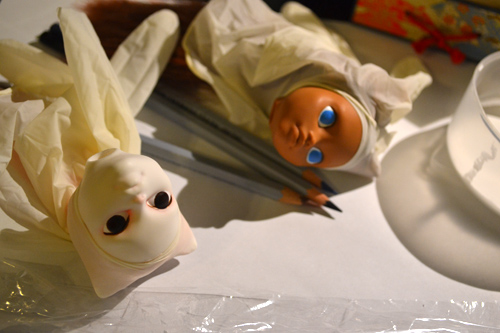
So, I started by painting in the shape of the eye whites as a canvas. I had seen other people start with white before and thought I would give it a try. I think I prefer starting with laying out the eye in watercolor pencil first because I just find it easier to work with dry materials. When you start painting the face it’s really important that you thin out your paint well enough. It takes some practice to get it right, but here is a tip to help you: If you see any streaking, or rather you can see brush strokes in your paint, then it is too thick. Your paint should be so thin that when you apply it you see no strokes and the liquid like paint self levels itself. You will also have to apply many layers this way slowly, as you should wait for each layer of paint to dry. In the picture above I have probably applied over a dozen coats of white paint to make it opaque. Also I should mention that on Catrine I decided to blue the corners of her eyes before beginning so this way I could see my paint since it would be white on white.

custom23

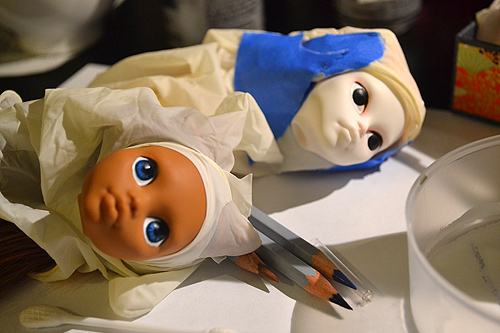
Next I start blocking in some base colors and I started adding a lid line around catrine’s eyes.

custom24

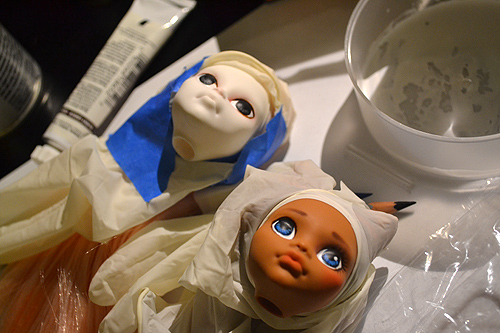
After getting the base color solid on Clawdeen’s eyes I started working on darkening the pupil area and around the edge of the iris. I like to go for a more manga sort of style I guess when I paint the eyes. It’s what I’m familiar with since I draw manga style comics.

custom25

So now that I have Clawdeen’s eyes about how I want them I started applying highlight dots and have moved on to doing some blushing and drawing in lashes and brows. This was the first time I had ever worked with a “tan” doll before, so I found it a bit of a learning curve to figure out which colors would look good and show up on her. Red shows up best for the blush and lip colors.

custom26

And here I have fully finished Clawdeen and started to focus more on Catrine. So, you can see about how messed up the hair becomes after you remove the head from the glove. I just adjusted Clawdeen’s hair with my hands for the picture. It’s not terrible, but you always feel a little sad that your perfect hair is not longer perfect. XP

customdone27

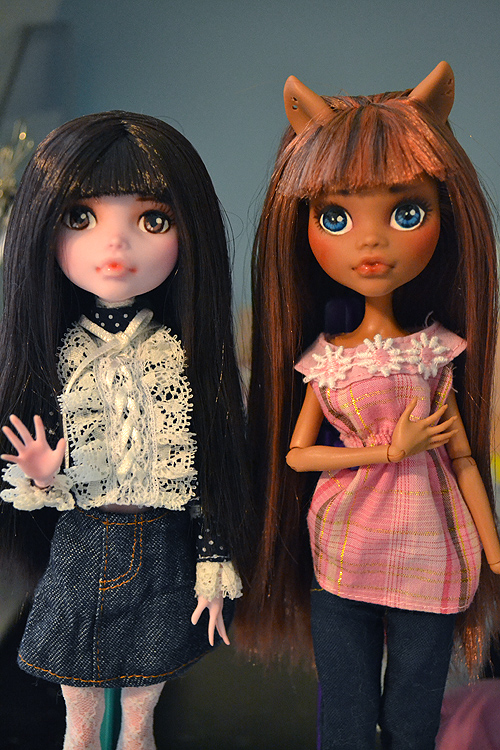
So here is my finished Clawdeen with my very first Draculaura custom. I have yet to finish Catrine because we had storms and high humidity the following day so I have been unable to spray any sealer. I will be trying to get her finished up this weekend since the humidity has dropped greatly. So, in the end I learned a little more while doing this custom, but I’m not 100% happy with Clawdeen since I think I made her eyes a bit too big. I still like her overall though and I had wanted to make a sweet innocent looking Clawdeen and I think I was at least successful in that. Well, that’s it for my customs progress for now. I’ll be sure to post some pics of Catrine when I finally finish her. 🙂