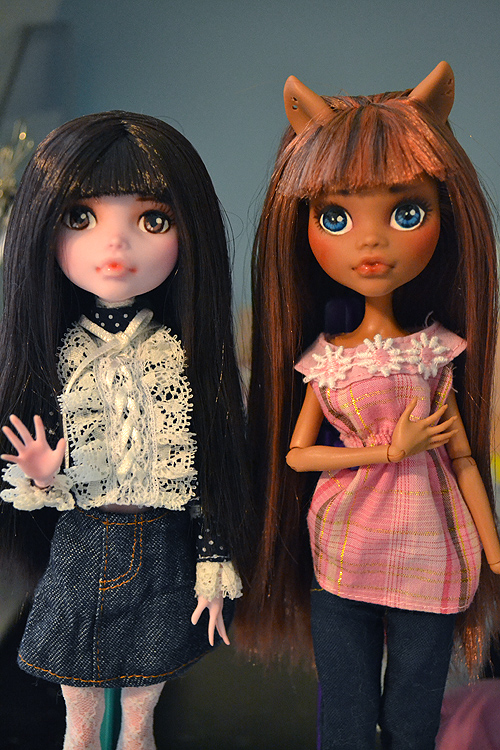
I’ve seen a lot of neat little tutorials where people with smaller 1/6th scale dolls have made little light box diffusers to photograph their dolls in with a nice soft looking studio light. The only problem is that if you have anything larger than a YOSD or a Blythe you may find it difficult to create a light box big enough. On top of that if you wanted to photograph a room box with your dolls that also presents a problem. So I thought to myself, why can’t I just make some diffusers to use when I make a set for my MSD girls? And then I decided I would try it. 😉
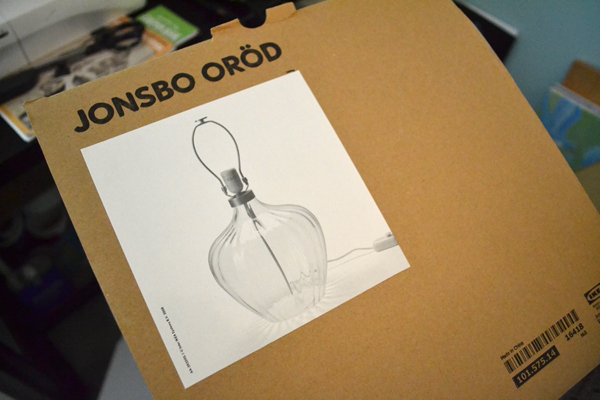
So I started with a box, in this case it was a lamp box my mother saved for me after she bought this lamp at Ikea. I feel like I’m advertising for them now or something, lol. Anyway….
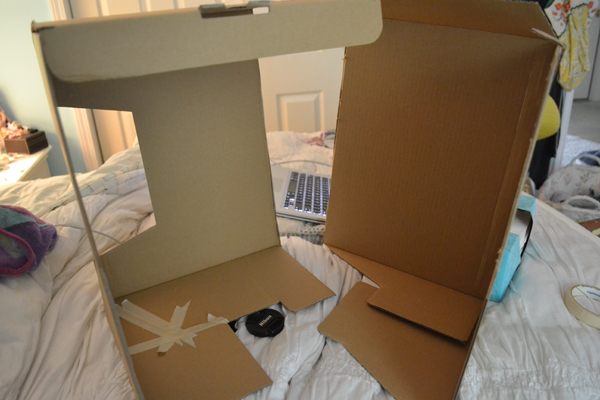
I slit the box down two corners, and this would be two corners diagonal from each other so in the end you wind up with two triangles of box and some bits of attached lids and bases.
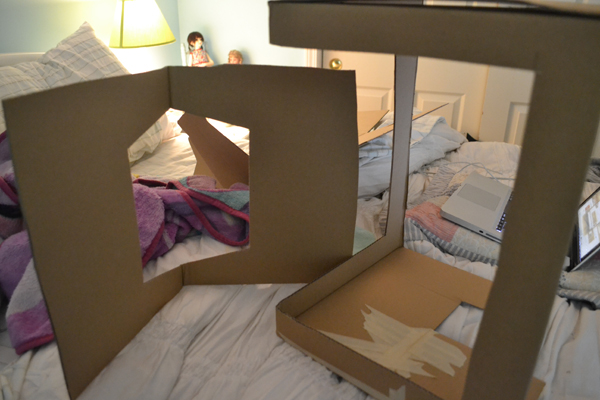
After securing the box with some tape on the base so it will keep it’s triangle shape and won’t move on me, I decided the orignal lamp box opening wasn’t big enough and I decided to cut out a large rectangle of cardboard being sure to leave a good 2-3 inches around the outside.
Unfortunately I forgot to take a picture of the next step, but after you cut your window holes in the boxes you will want to tape a thin paper or tissue to the inside of the box, covering the window hole. The paper/tissue is going to be the part that acts as your diffuser, the rest is there for support.
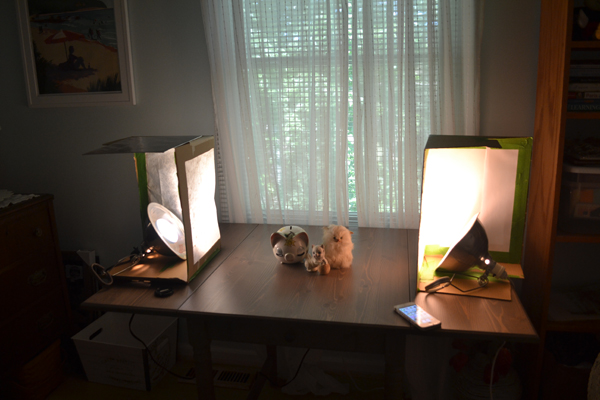
So here are my diffusers in action. You can see how I taped the paper to the windows, and basically I set clamp lamps inside. If you want to angle your lamps in a specific direction, you can put a heavy object like an art history book on the base for support and clamp your lamp to the side or top of the box. I imagine with a little work you could probably even figure out how to hang the box around a lamp that is higher up in the air, but I didn’t try anything like that.
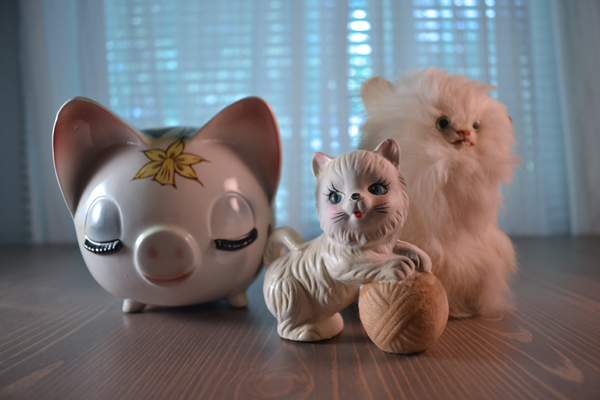
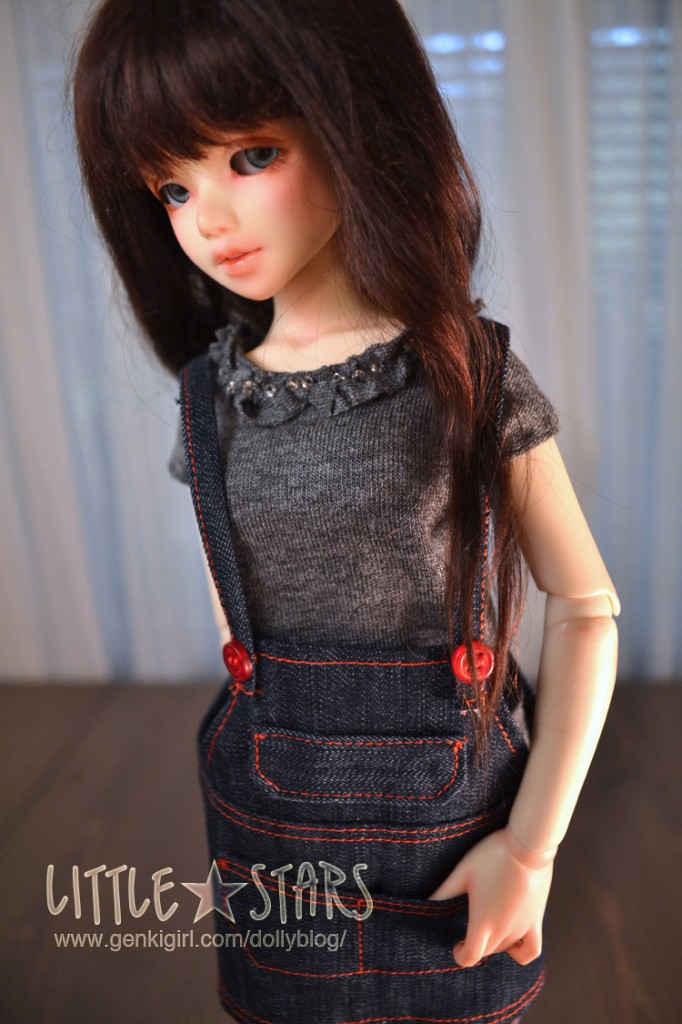
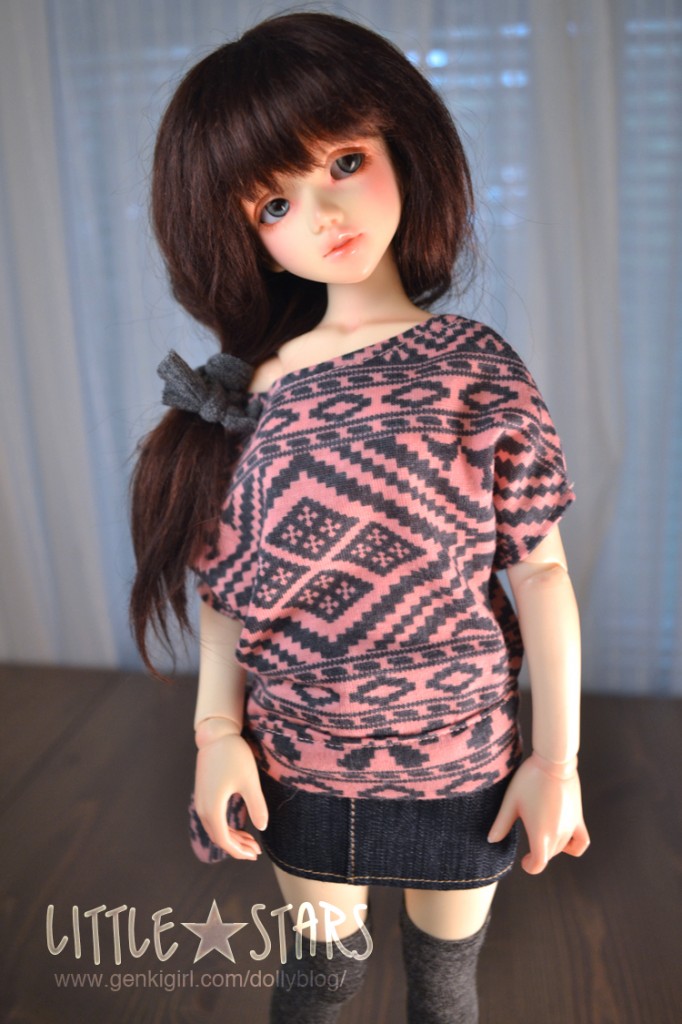
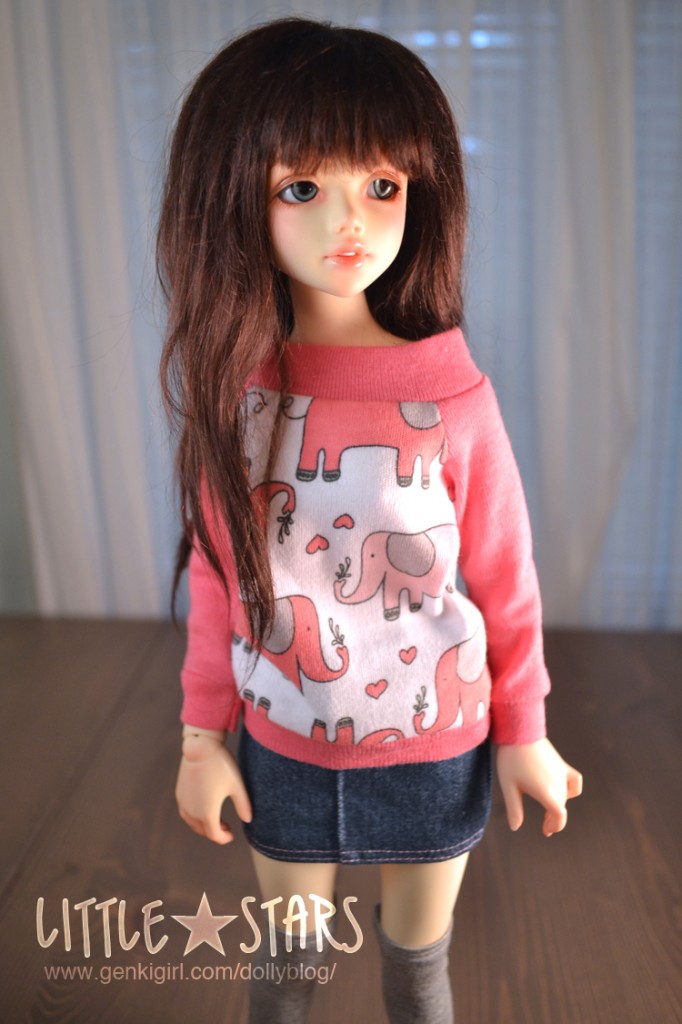
Annnnnd here is a test shot I took using the diffusers. In the end I applied a cooling filter to the image because these shots wanted to come out orange which kind of told me they were a bit under exposed, however I was using a low watt incandescent so there’s that too. Since I only have the kit lens on my camera I’m going to have to either add more lighting or get a new lens with a larger aperture setting. As it is, these were all shot at 1/60th at f3.5 which is the most my len’s aperture can open.
Anyway you can judge for yourself if you’d find something like this useful for your doll photography. For me the verdict is still out on these boxes. I am going to try working with them again when I plan to photograph my sewing projects and then make my decision. I might also use a more powerful light with more of a cool cast as well. If I come up with anything new I’ll be sure to blog about it!


