Pullip’s House – Attic Dormer

dormer01

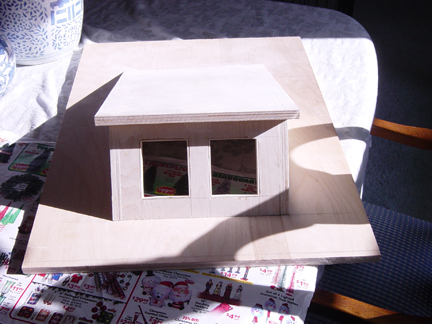
I haven’t had much time to post updates, but I have been trying to get some work done on the dollhouse every day. The most recent progress I’ve made has been with the left side attic dormer in the picture above. It took forever to putty and sand that thing because of all the tight spaces and tiny corners, but right now it is all puttied, sanded, windows framed and is currently sitting downstairs with a coat of white paint on the interior. After I finish the interior painting of the dormer I will need to cut the trim board for the interior, paint it and glue it on…..Then finally the roof can be attached and I can finish the base coat and start with interior and exterior trimming. 🙂

Pullip’s House – Yet More Progress

dollhouseprog05

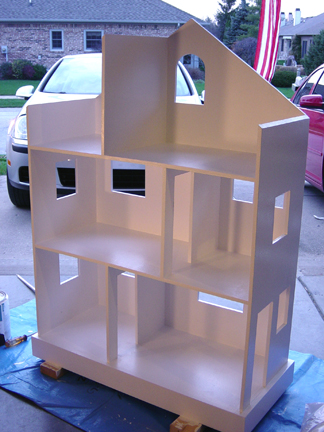
Today…well yesterday now as it is after midnight as I post this…I put on a white base coat all over the house, which took me longer than I imagined it would really. Tomorrow, or today rather, I intend to touch up any thin areas, sand down a couple drips that I missed and basically refine it and get it ready for its roof, and detail trim. Not much more to say about it at this point!

Pullip’s House – Today’s Progress

dollhouseprog04

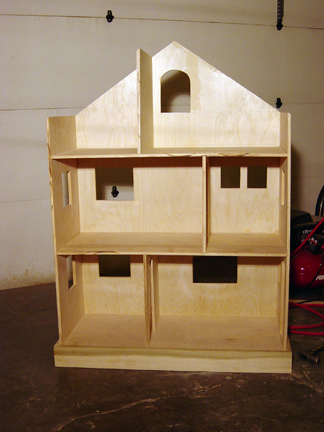
Today we attached the box base underneath of which we sured up with some braces and put in the mounts for the swivel wheels. As you can also see from the pic we have the room dividers in place. The kitchen and living room will be downstairs, the middle floor will have a bedroom and a bathroom and the upper floor will house another bedroom and a small study. Right now we have the parts cut for the roof, including the dormer that will go over the small attic study, but we are going to wait and assemble and attach that last.

At this point I have a lot of sanding and smoothing to do, so tomorrow I shall be out there with the hand sander, file and wood putty sealing up gaps and smoothing out dents. Once I get everything finished the way I want it, then I really must paint this Saturday since it will be getting up to 67 degrees, which will really help my paint to dry faster. After I get the base coats down then I can focus on cutting out my window trims, windows, window boxes and etc…

I may not have much by way of photographically noticeable progress tomorrow, so I may not make a dollhouse progress post, we’ll see though. Well that’s it for now!

Pullip’s House – Framing the Windows and Doors

dollhouseprog03

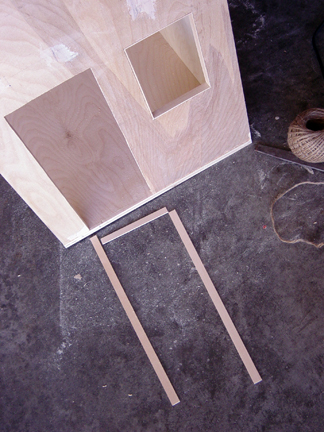
Today I started framing the windows and doors that we cut out yesterday. I’ve begun by taking some 1/16th thick basswood that is 1/2 inch wide as my windows are, and using it make the casing. I had been considering using popsicle sticks, but the longest popsicle stick I could find at the craft store wouldn’t fit the lengths of most of my windows. Anyway you can see a progress pic up above. Since this is very small wood I used a crafter’s saw that is basically like a big X-Acto blade with a serrated edge to cut the pieces to size. I made sure that all pieces were cut to size and had a snug fit before I glued them into place. I think it is worth the extra effort to do this to your windows since it makes a nice clean straight edge, hides any errors you made, and also looks more authentic.

Continue reading more tips about framing windows

Pullip House Progress – Mini Window Cutting Tut

dollhouseprog02

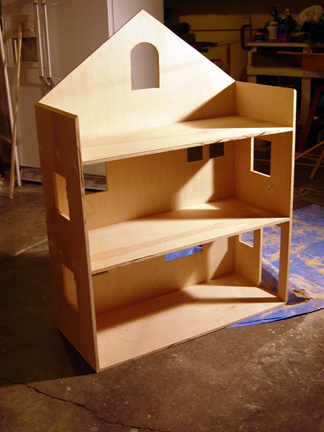
As you can see, we got all of the windows and the door cut out today! It’s finally starting to look less like shelves and more like a little house at this point. 🙂 As it were, it was quite easy to cut out the windows and doors after assembly, but before putting on the roof and base box. You could just turn the dollhouse to which side you wanted to work on and use the saber saw to cut out the window and door holes without need for setting up saw horses or anything. However I would recommend cutting out your door before assembly since the door comes flush to the floor and it can be tricky business to cut it out after being nailed and glued.

I’ve prepared a brief little tutorial on how we cut out the windows and doorway for anyone who is a beginner like me and needs some ideas. 🙂 So read on after the cut for the tutorial