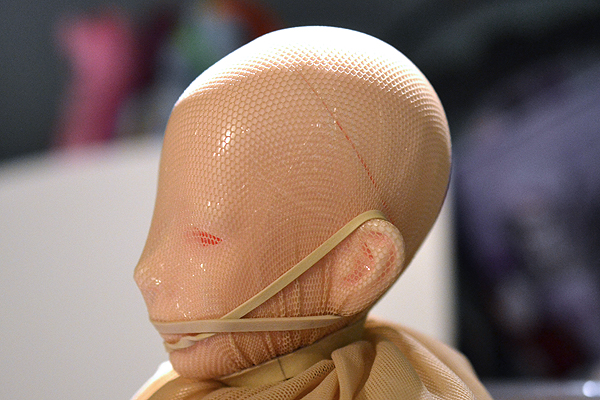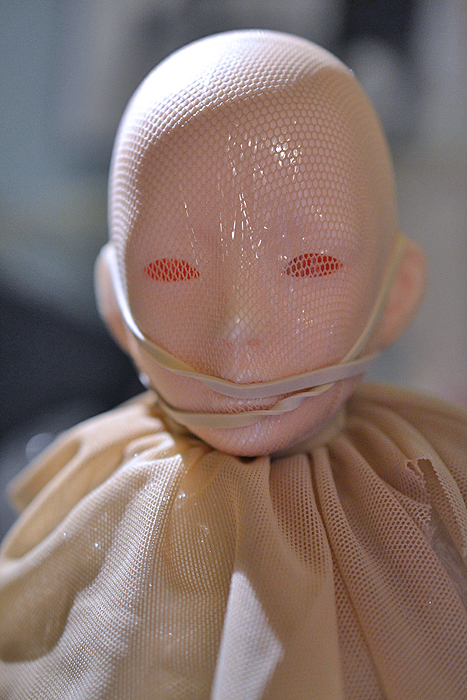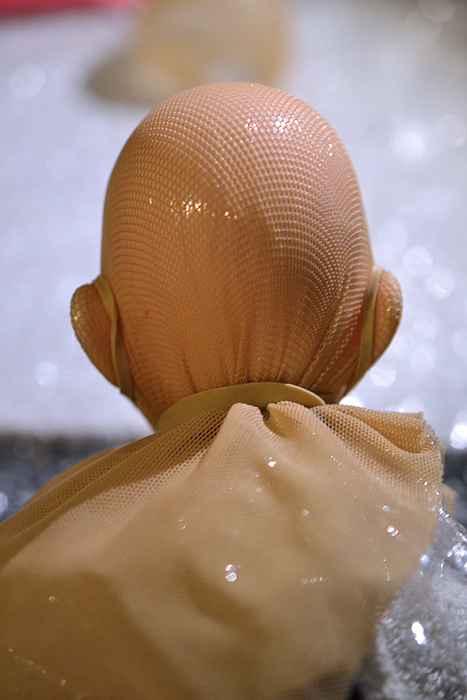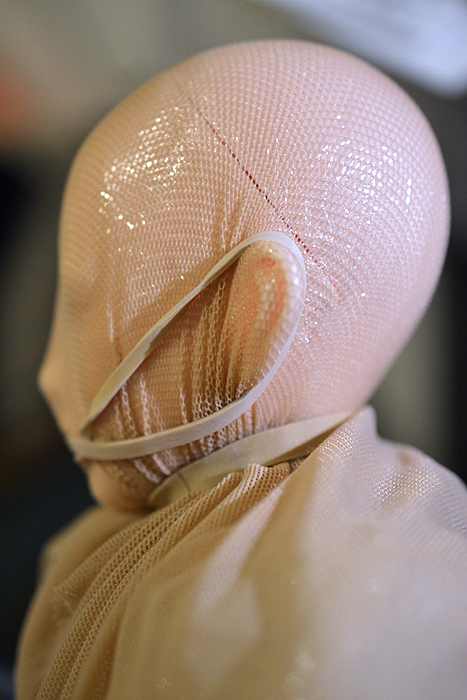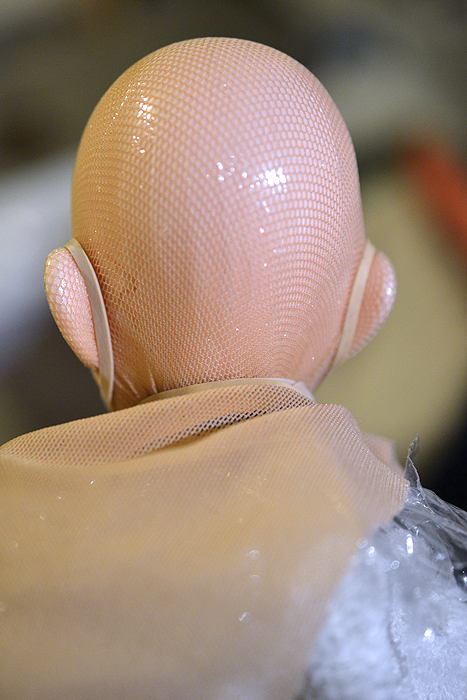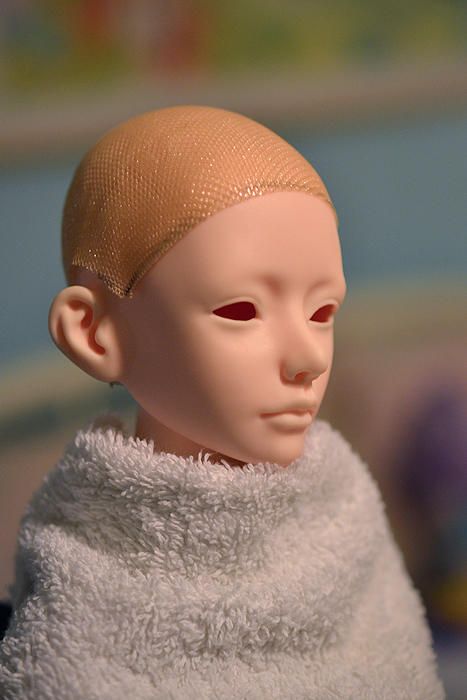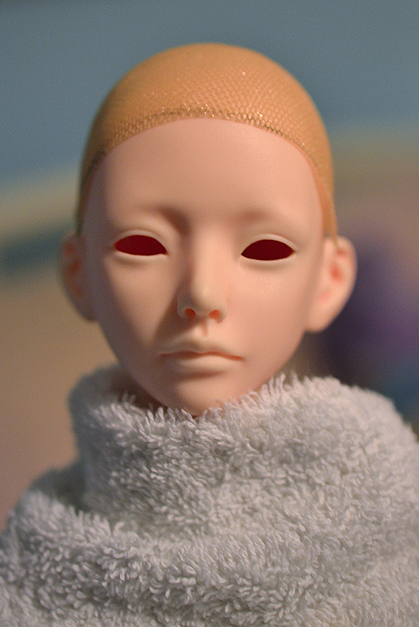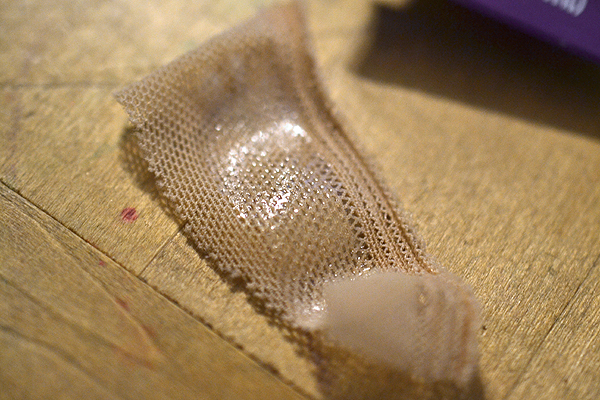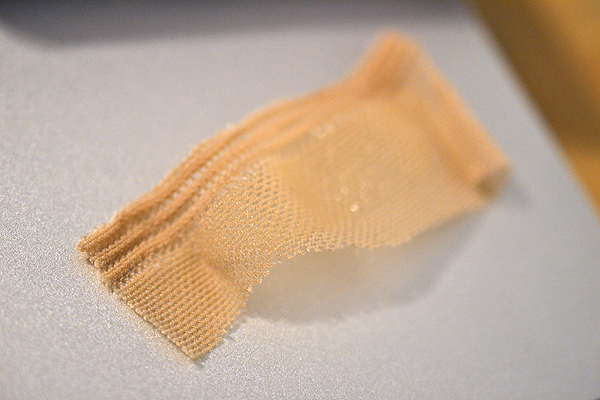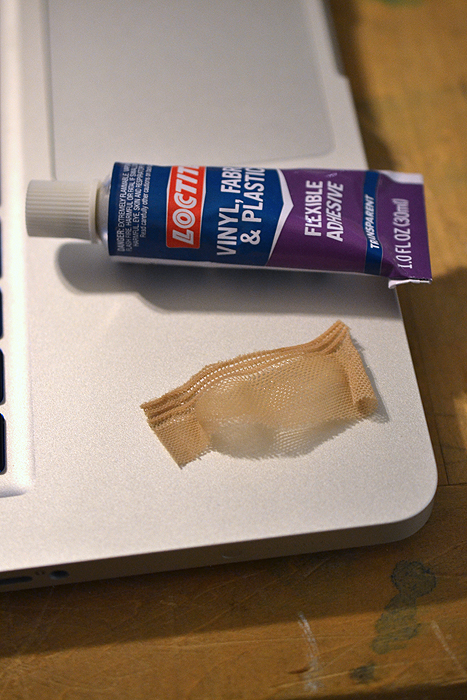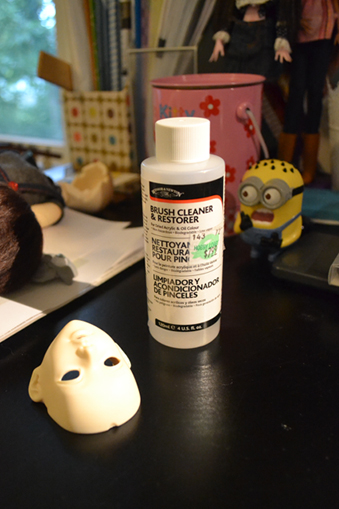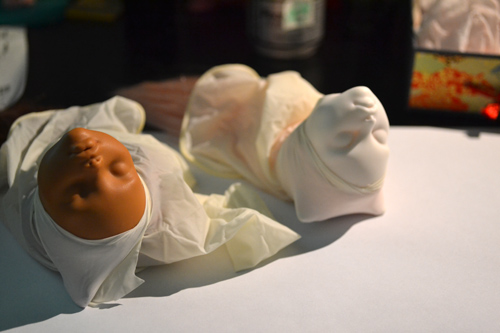
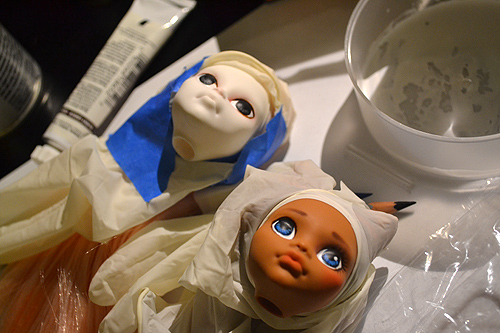
So, now we move on to the face painting portion of my customizing process. In order to keep the hair safe from the matte sealer you have to wrap it up in something. I noticed some people use old latex gloves for this, so I thought I’d give it a try. I ended up cutting out the tip of the thumb in a glove and shoving the head down from the hand portion of the glove until the face was properly exposed through the hole in the thumb. One of the drawbacks to painting the face last is naturally you wind up messing up all of your hair styling. It won’t ruin it completely obviously, but you will probably need to do some additional steam ironing after you remove the head from the glove. Some people paint the face before re-rooting, but for me personally I have found that if I do that I normally wind up damaging the face in the process since re-rooting is a little rough on the doll’s head. In the end you should do what works for you. Oh, and I should also mention that before I do this I commit myself and glue in the hair inside the head. You basically want to use a non-water soluble glue like a fabric glue.
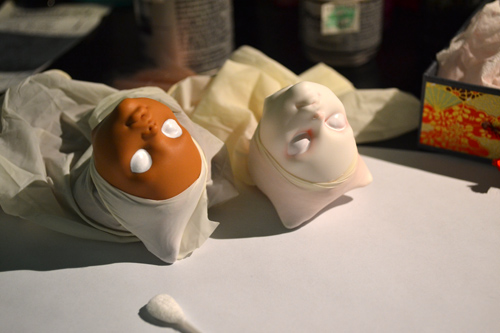
So, I started by painting in the shape of the eye whites as a canvas. I had seen other people start with white before and thought I would give it a try. I think I prefer starting with laying out the eye in watercolor pencil first because I just find it easier to work with dry materials. When you start painting the face it’s really important that you thin out your paint well enough. It takes some practice to get it right, but here is a tip to help you: If you see any streaking, or rather you can see brush strokes in your paint, then it is too thick. Your paint should be so thin that when you apply it you see no strokes and the liquid like paint self levels itself. You will also have to apply many layers this way slowly, as you should wait for each layer of paint to dry. In the picture above I have probably applied over a dozen coats of white paint to make it opaque. Also I should mention that on Catrine I decided to blue the corners of her eyes before beginning so this way I could see my paint since it would be white on white.
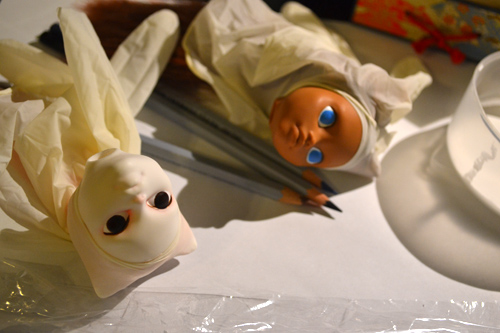
Next I start blocking in some base colors and I started adding a lid line around catrine’s eyes.
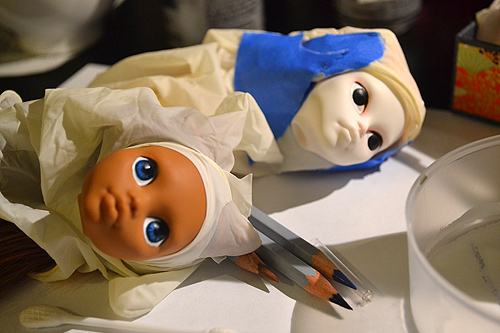
After getting the base color solid on Clawdeen’s eyes I started working on darkening the pupil area and around the edge of the iris. I like to go for a more manga sort of style I guess when I paint the eyes. It’s what I’m familiar with since I draw manga style comics.
So now that I have Clawdeen’s eyes about how I want them I started applying highlight dots and have moved on to doing some blushing and drawing in lashes and brows. This was the first time I had ever worked with a “tan” doll before, so I found it a bit of a learning curve to figure out which colors would look good and show up on her. Red shows up best for the blush and lip colors.
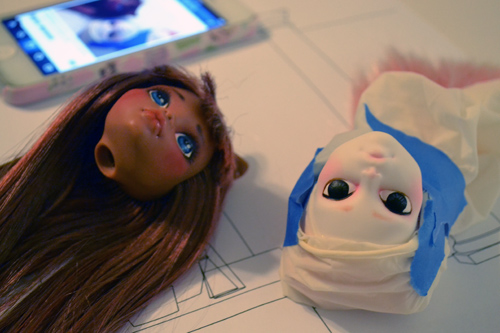
And here I have fully finished Clawdeen and started to focus more on Catrine. So, you can see about how messed up the hair becomes after you remove the head from the glove. I just adjusted Clawdeen’s hair with my hands for the picture. It’s not terrible, but you always feel a little sad that your perfect hair is not longer perfect. XP
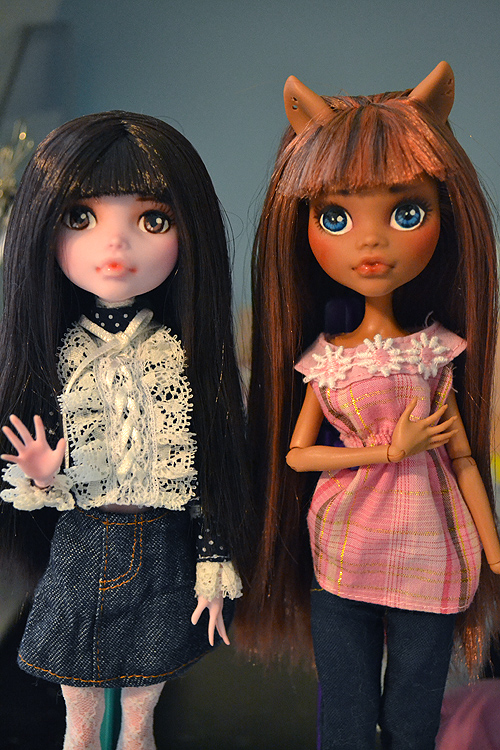
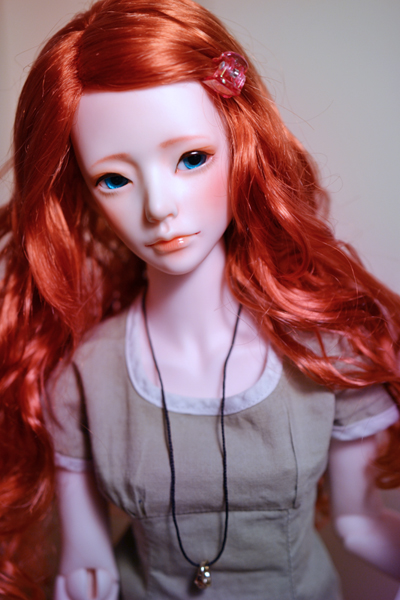
So here is my finished Clawdeen with my very first Draculaura custom. I have yet to finish Catrine because we had storms and high humidity the following day so I have been unable to spray any sealer. I will be trying to get her finished up this weekend since the humidity has dropped greatly. So, in the end I learned a little more while doing this custom, but I’m not 100% happy with Clawdeen since I think I made her eyes a bit too big. I still like her overall though and I had wanted to make a sweet innocent looking Clawdeen and I think I was at least successful in that. Well, that’s it for my customs progress for now. I’ll be sure to post some pics of Catrine when I finally finish her. 🙂

